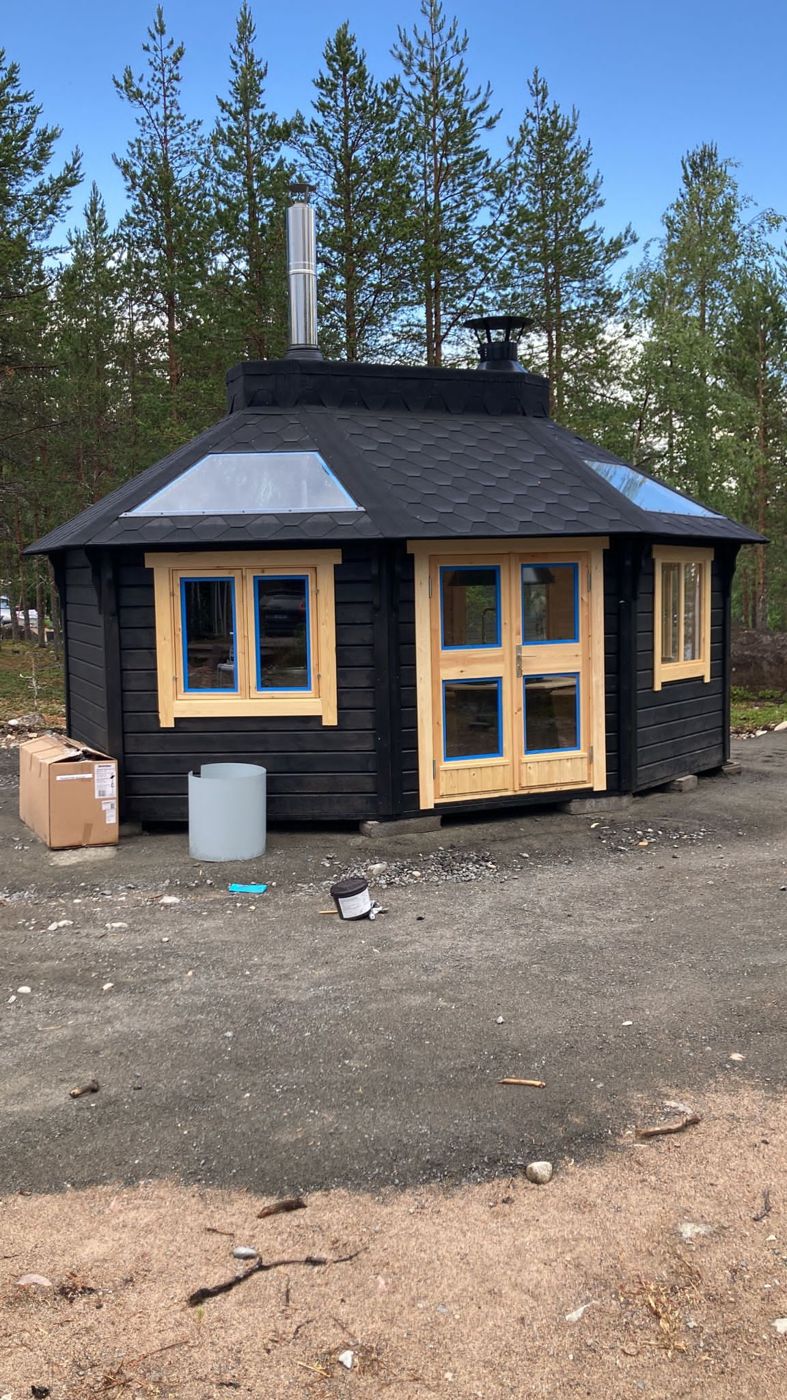
This has been the big project of the summer: a proper wood-fired sauna cabin at the cottage, built as its own free-standing structure rather than tacked onto anything else. The plan from the start was ambitious — not just the sauna itself, but a second small cabin nearby with a grill area, so the whole relax section of the property would be built out in one go. This post is the long version, more or less day by day, because it felt like the kind of project worth actually documenting properly rather than boiling down to a single “here’s what we built” photo.
Laying the foundation
Everything starts with the ground. We chose a spot a short walk from the water, far enough into the pines to feel sheltered but close enough that you can see the lake through the trees from the doorway. The cabin is octagonal, which meant the foundation wasn’t a simple rectangle of footings — it’s a full ring of concrete piers, each one leveled individually before anything else could go on top.
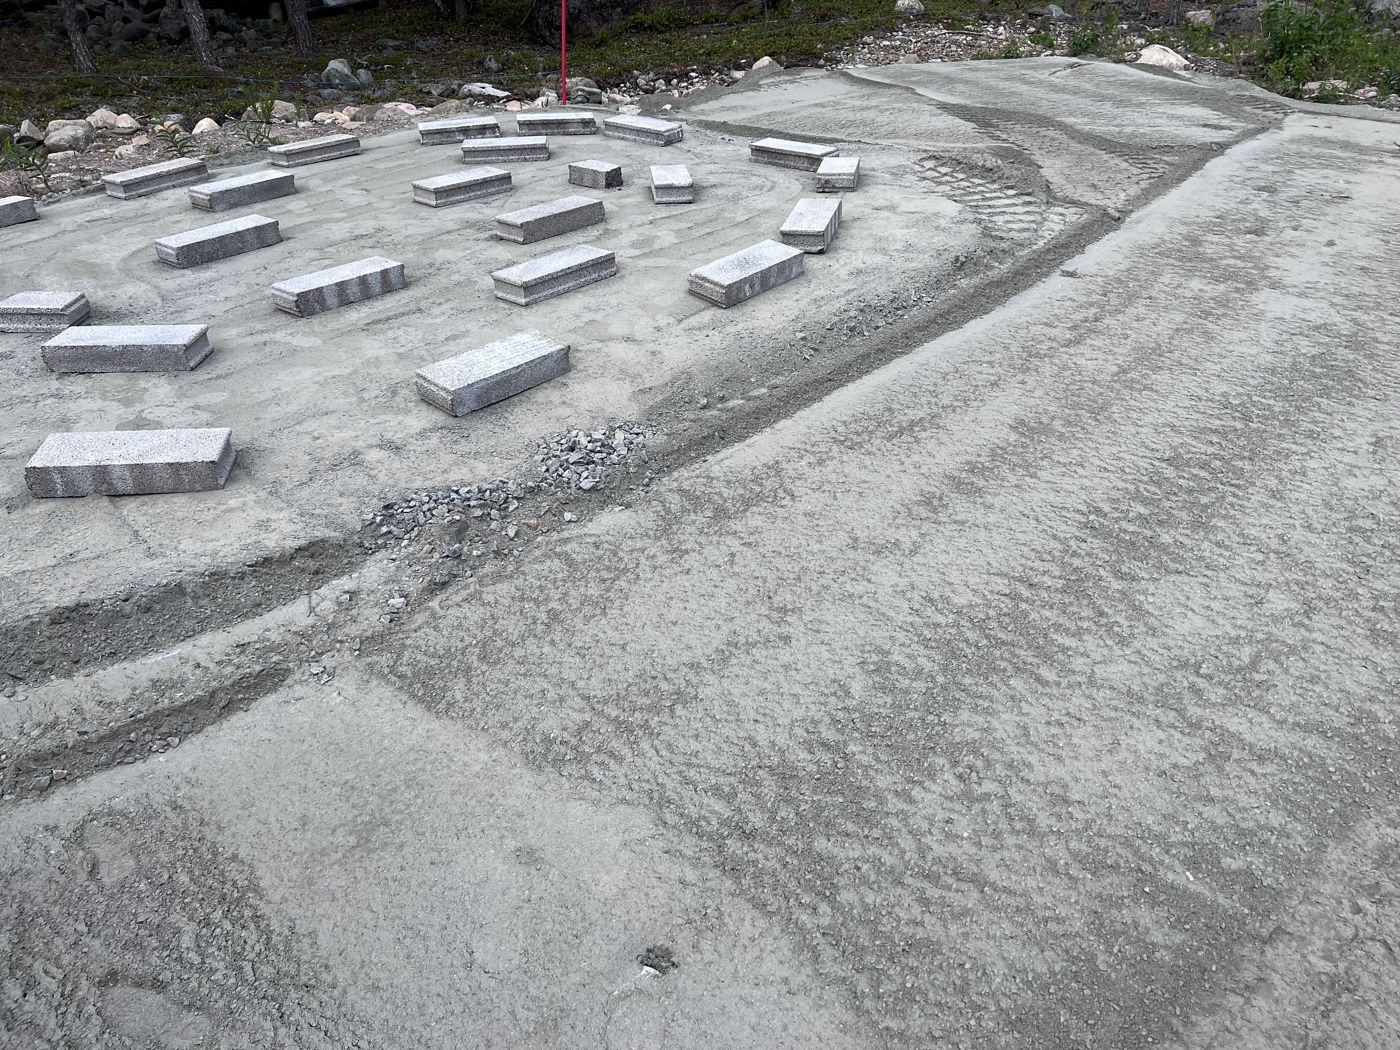
Getting two dozen-odd piers level with each other on a sloped, rocky site took a full afternoon on its own. It’s not glamorous work, but it’s the part that determines whether the whole building sits right for the next few decades, so we took our time with it.
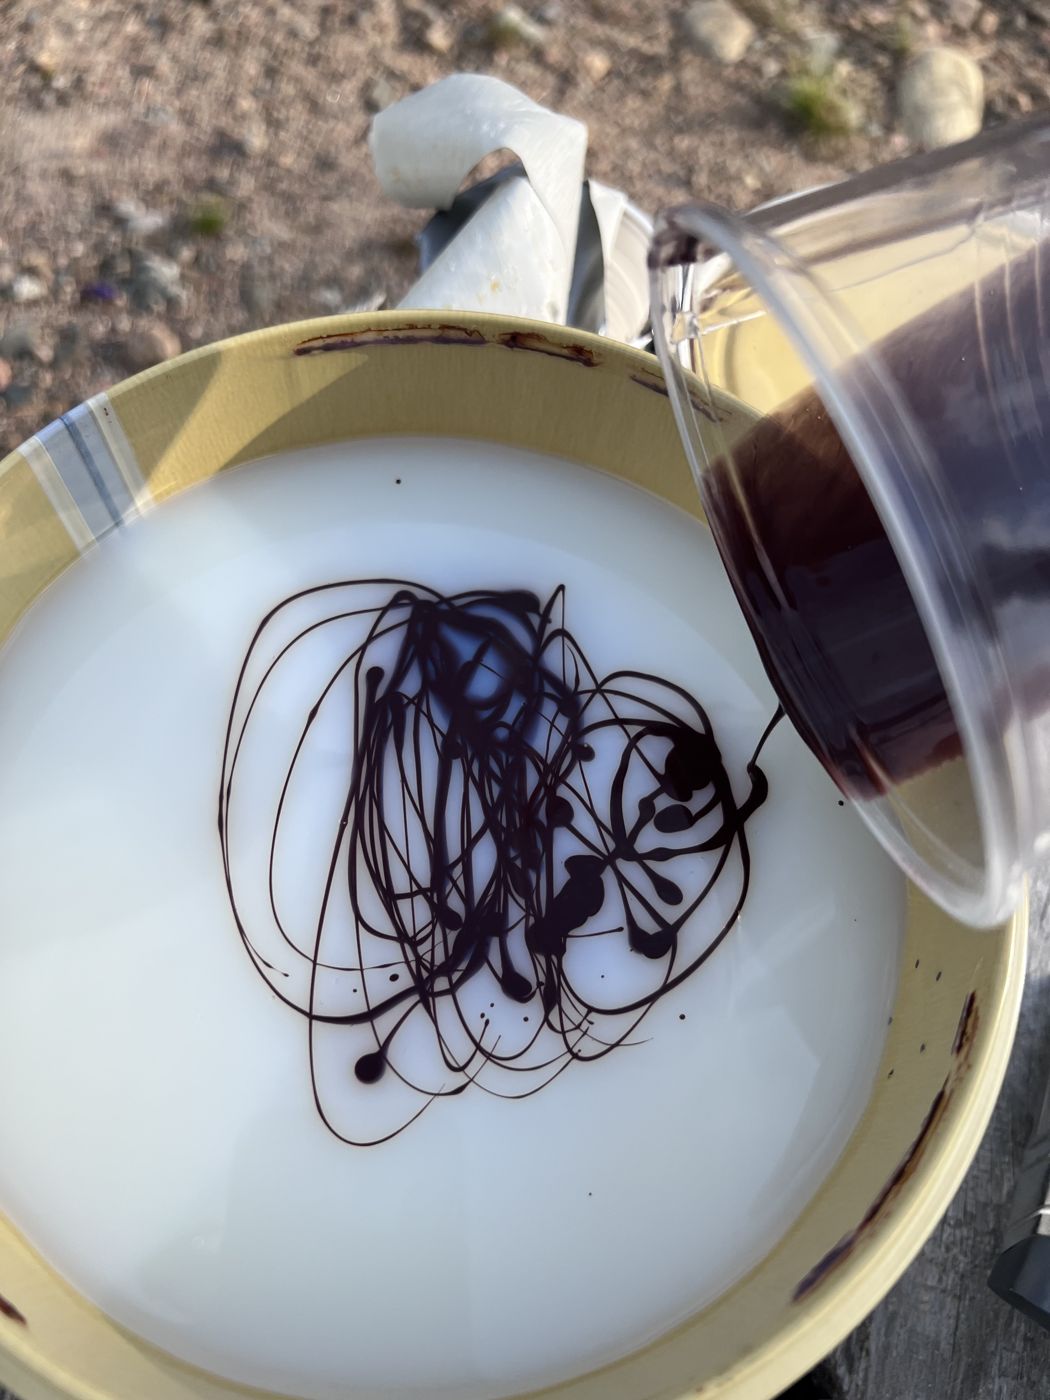
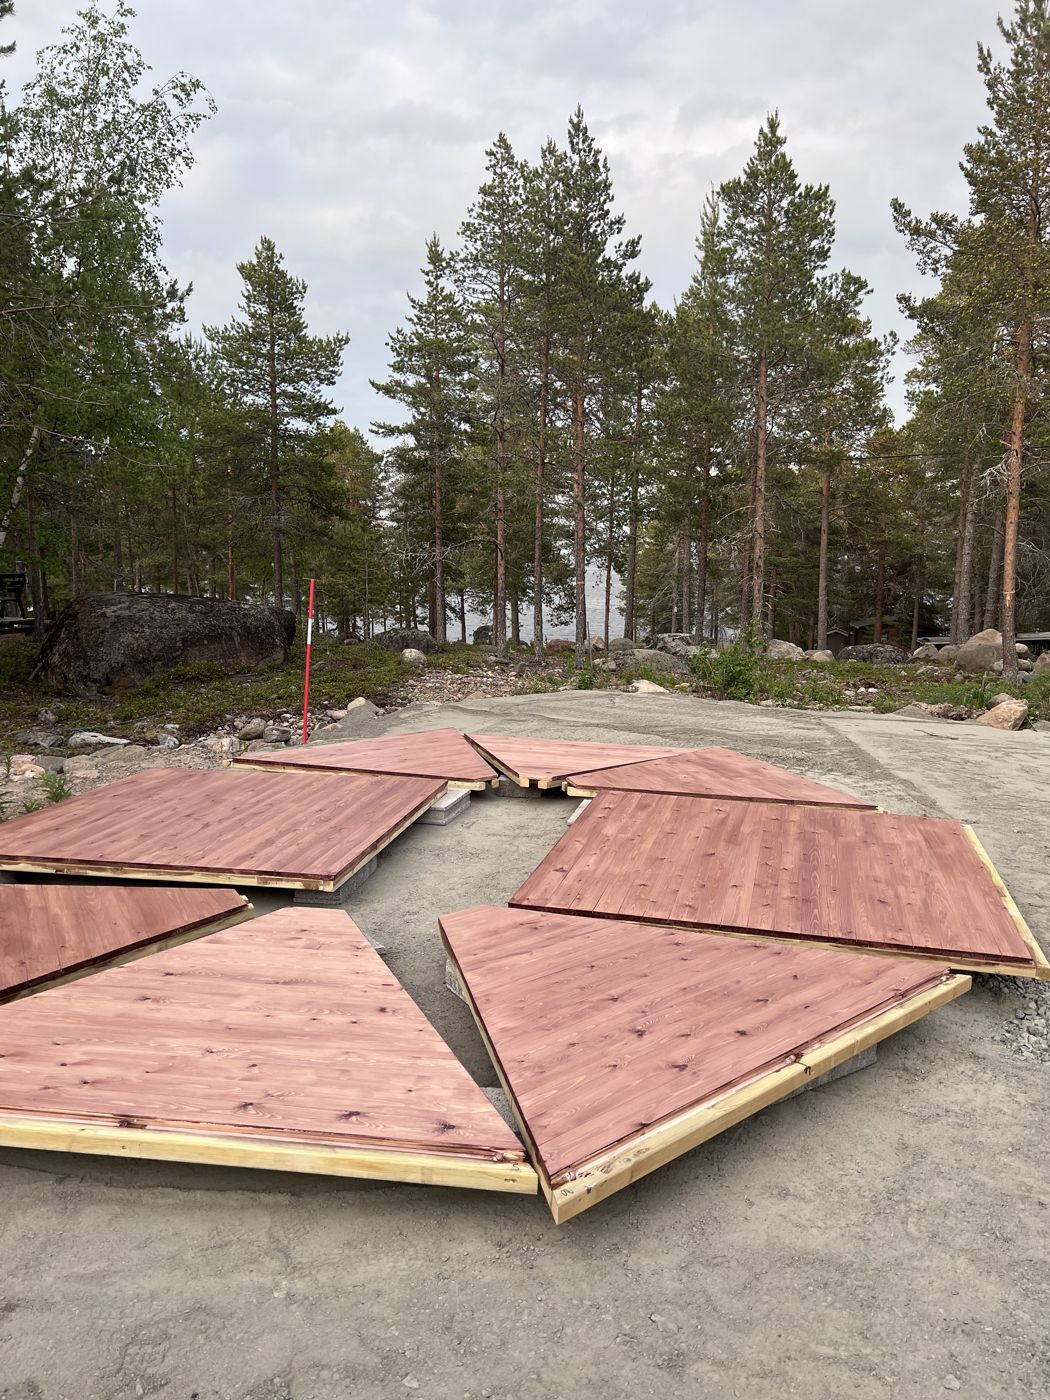
By the next morning the piers had cured enough to start building on top of them.
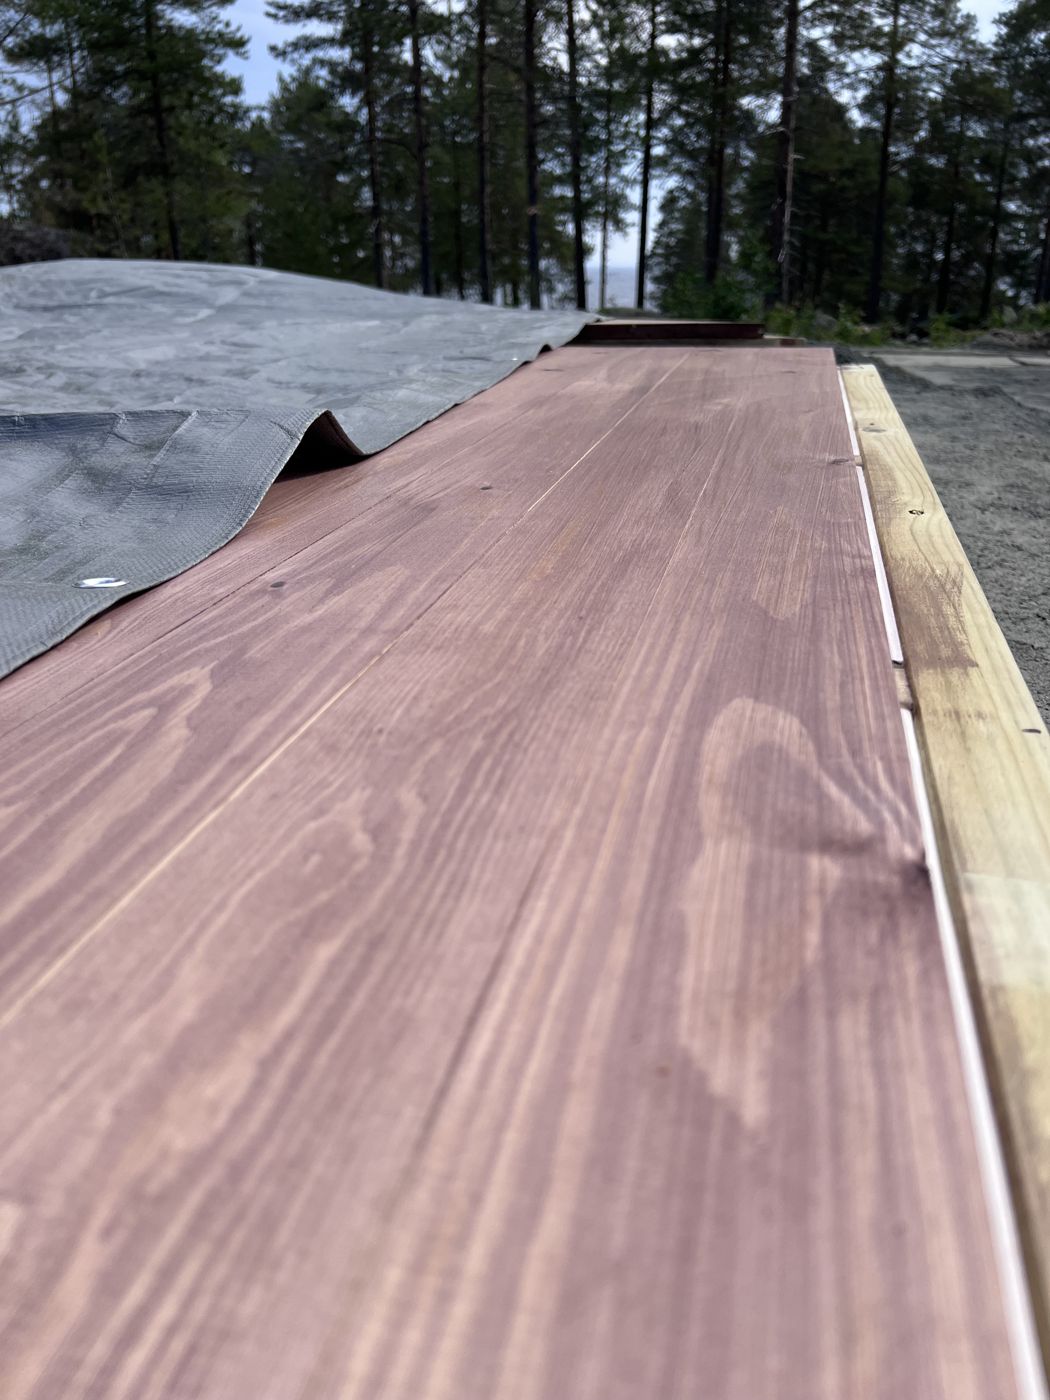
Framing and roof
With the base down, the framing went up fast — that’s always the satisfying part, watching something go from a ring of concrete blocks to an actual building outline in a day. The octagonal shape means eight separate roof panels all meeting at a central point, cut and fitted individually.
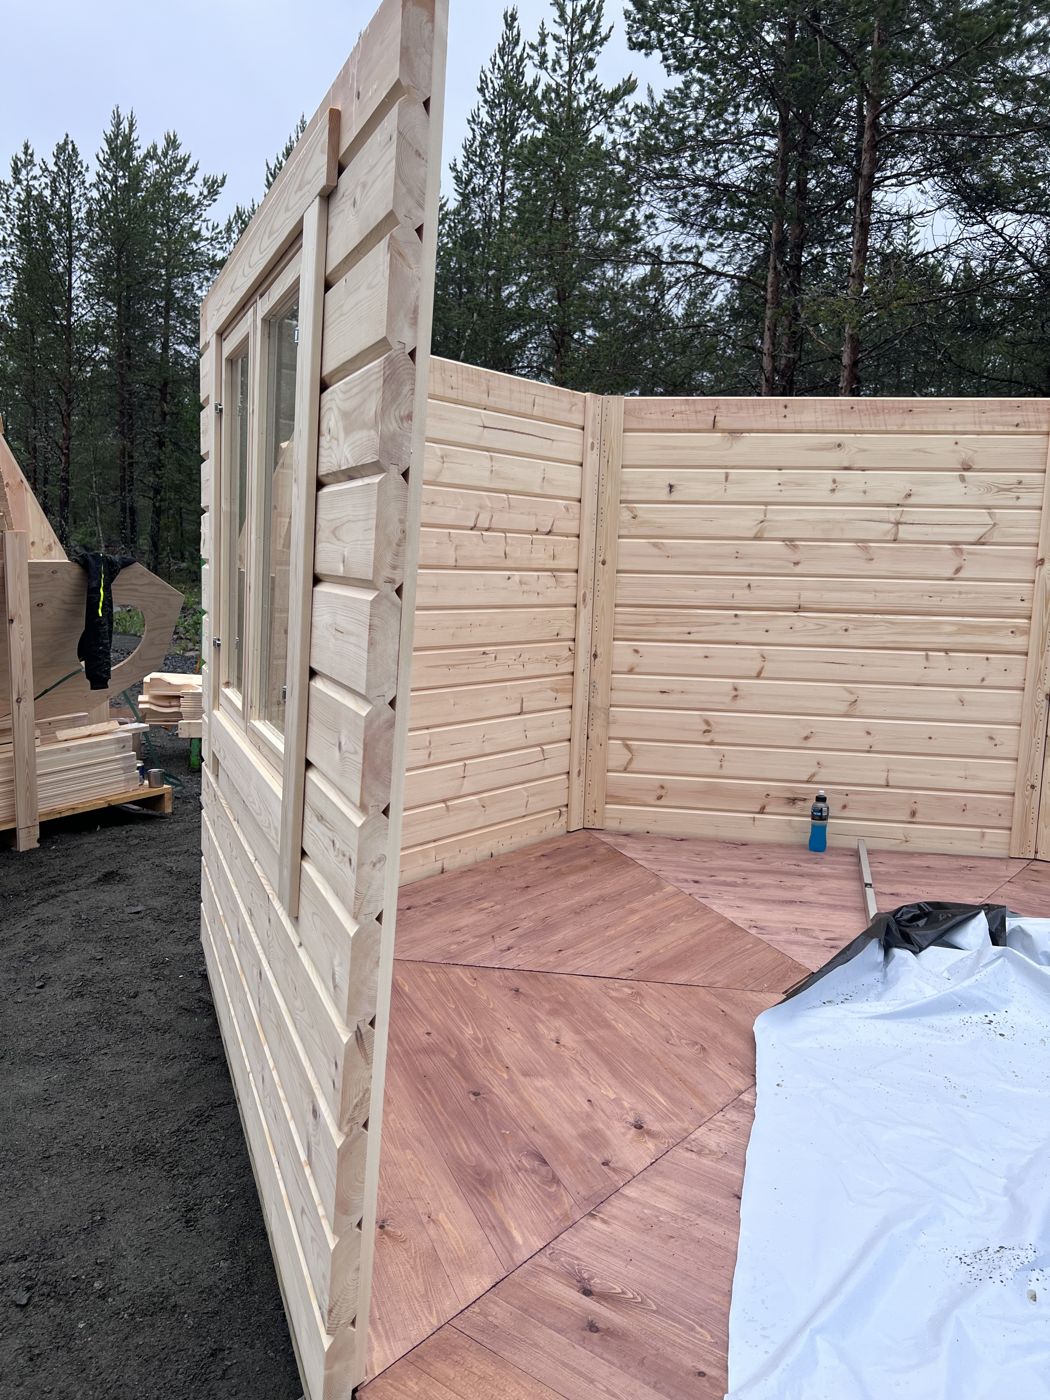
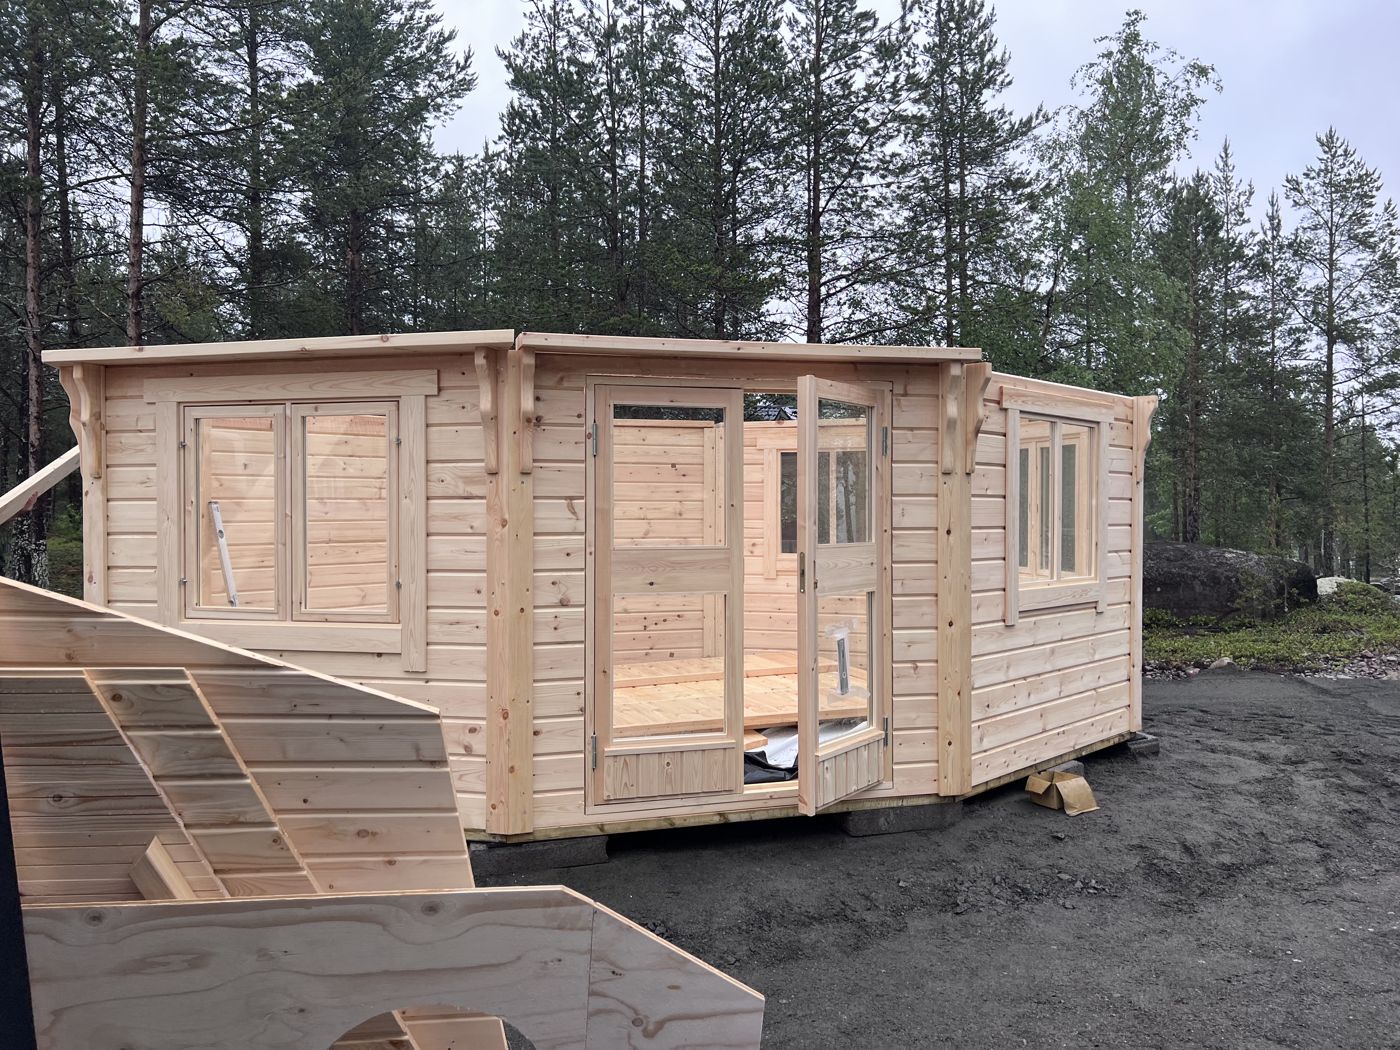
The walls went up dark from the start — we knew early on we wanted this cabin in black, to match the aesthetic we were going for across the whole relax area.
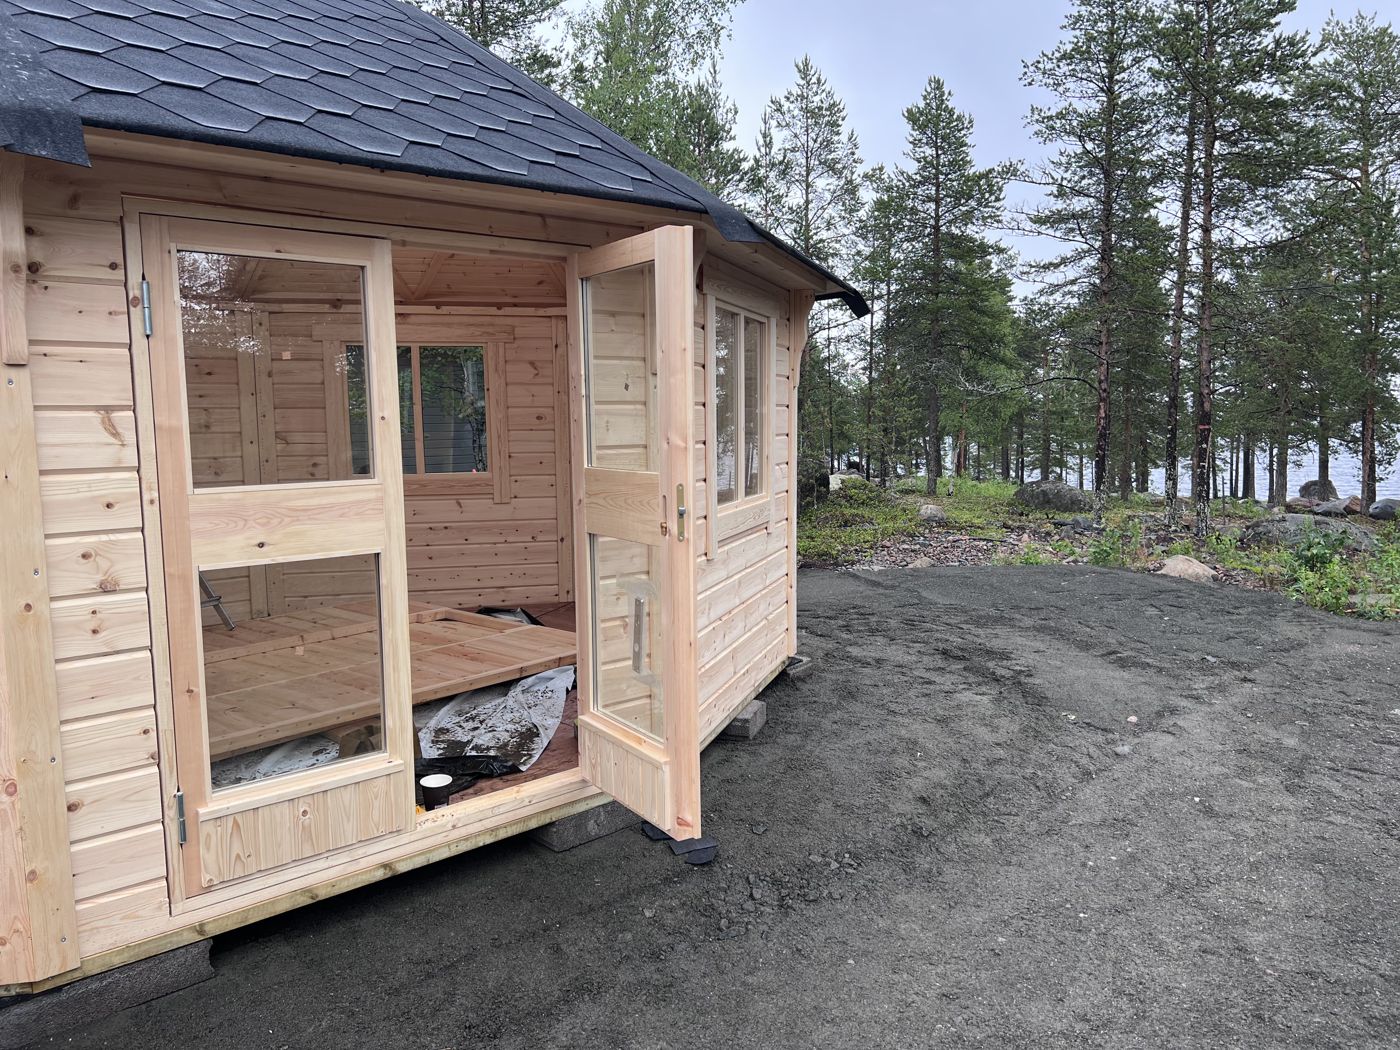
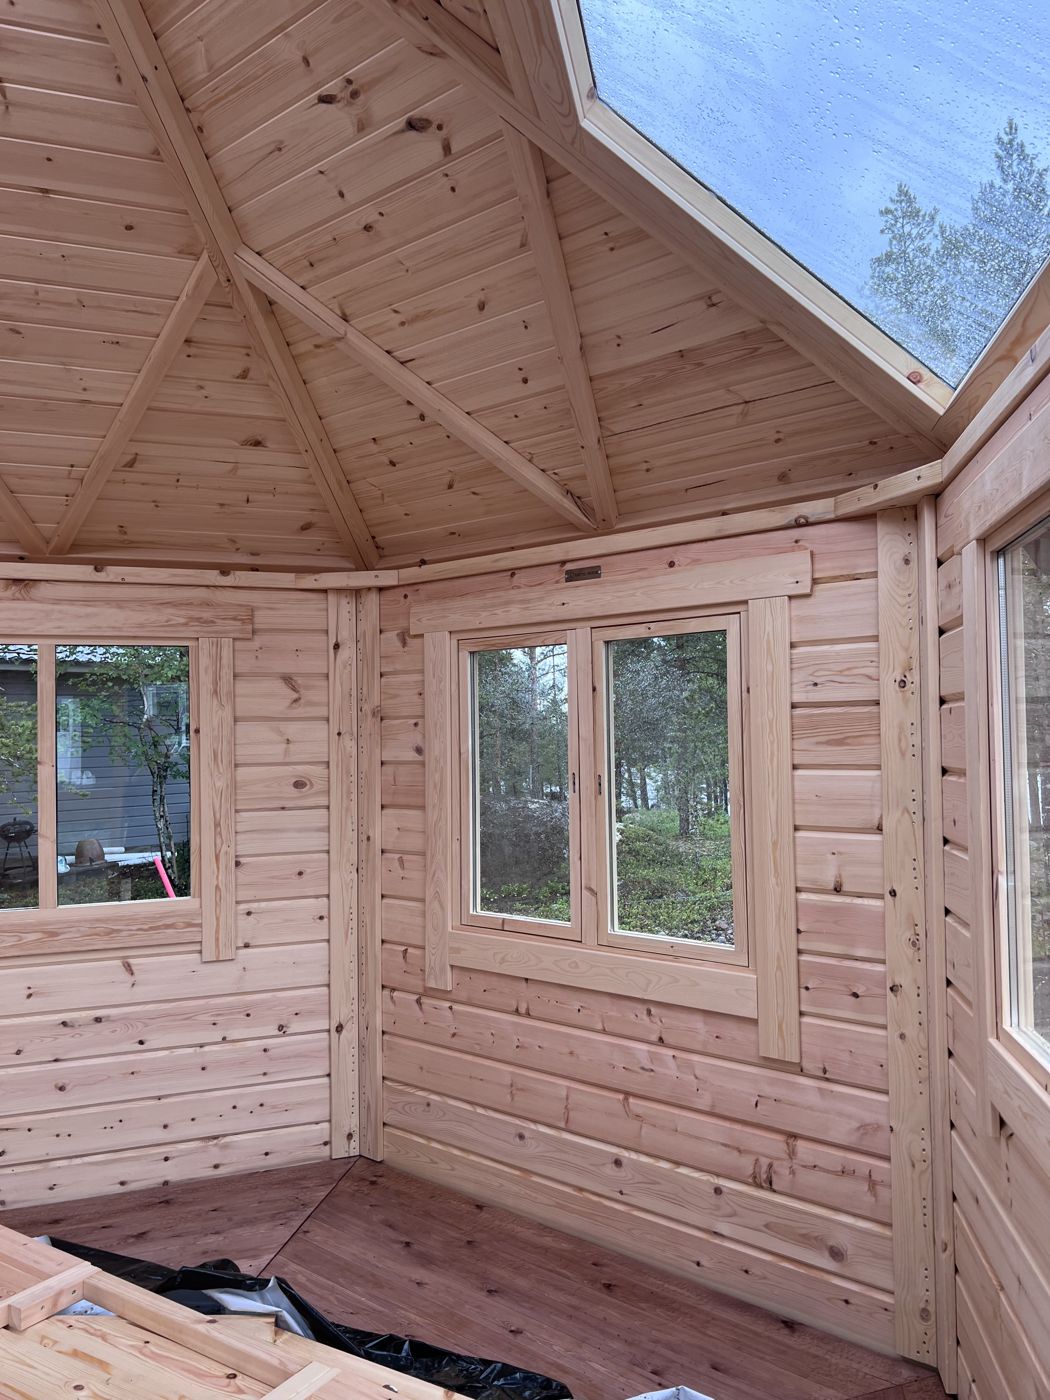
One thing I hadn’t fully appreciated until we were standing inside the shell: the roof needed skylights. An octagonal cabin has no gable end to put a proper window into, so the light has to come from above.
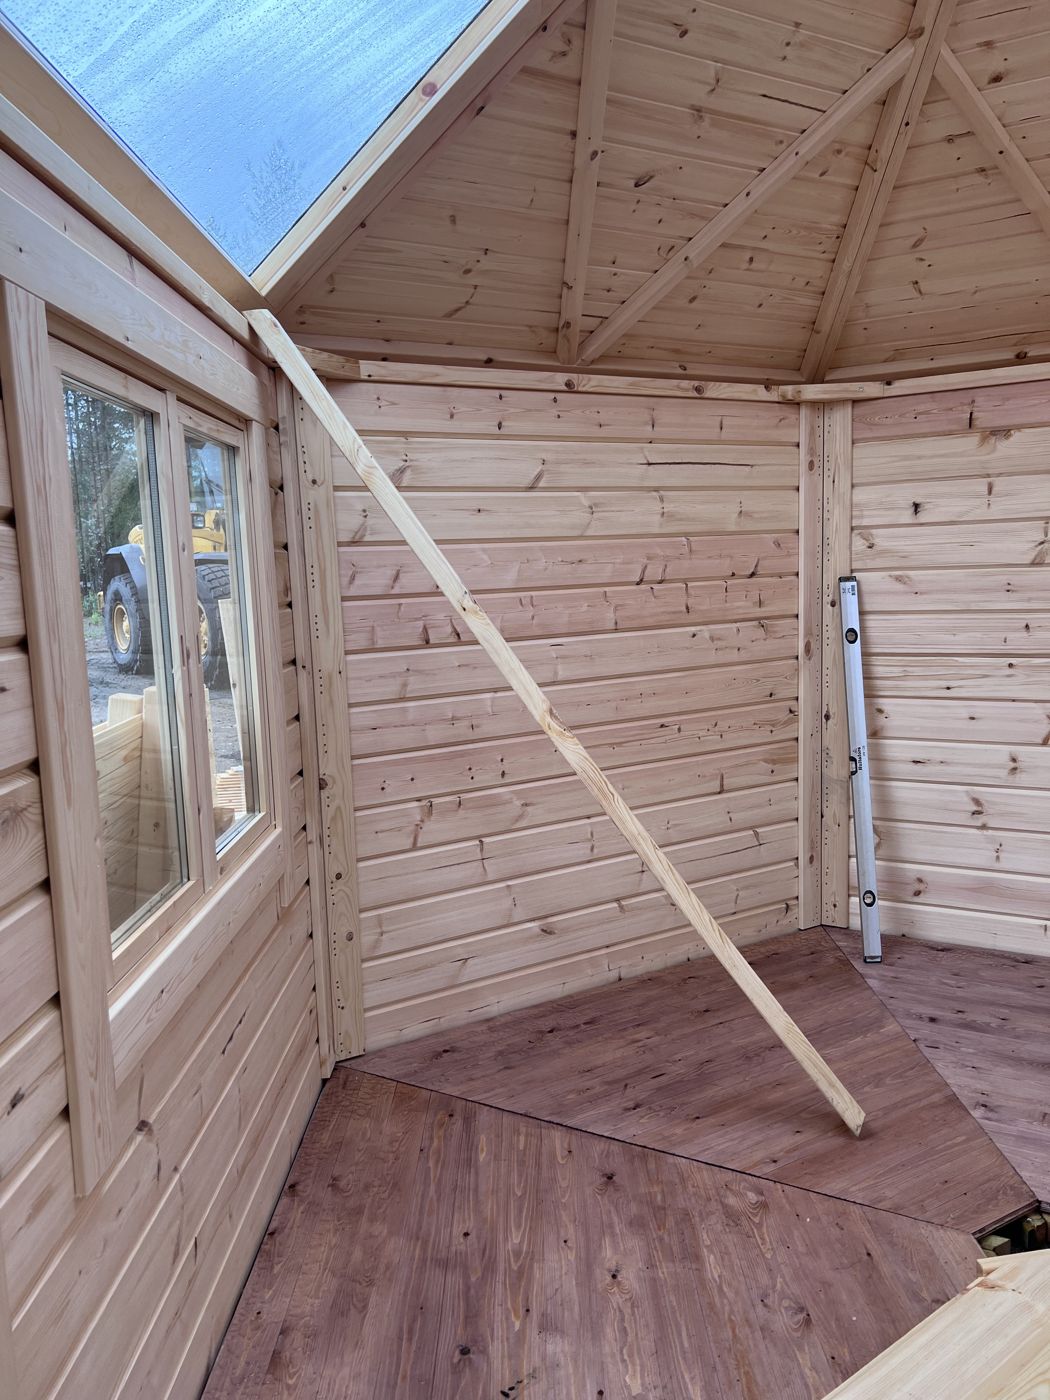
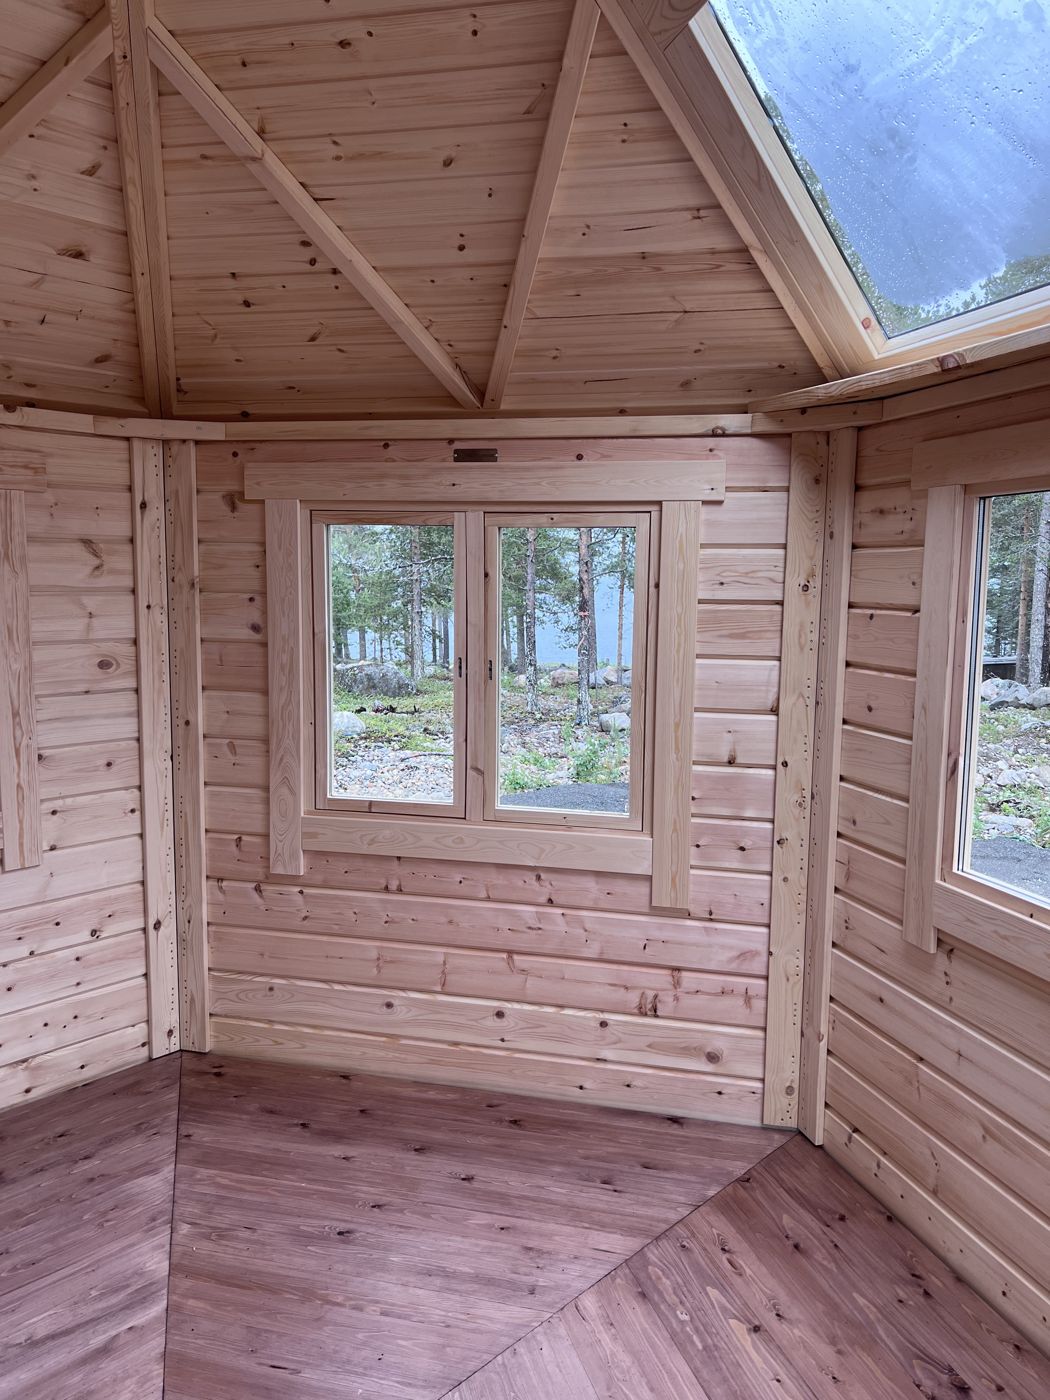
The big picture window was one of the first interior details to go in — from the inside, with the forest right there, it does most of the work of making the space feel less like a small octagonal box and more like a room with a view.
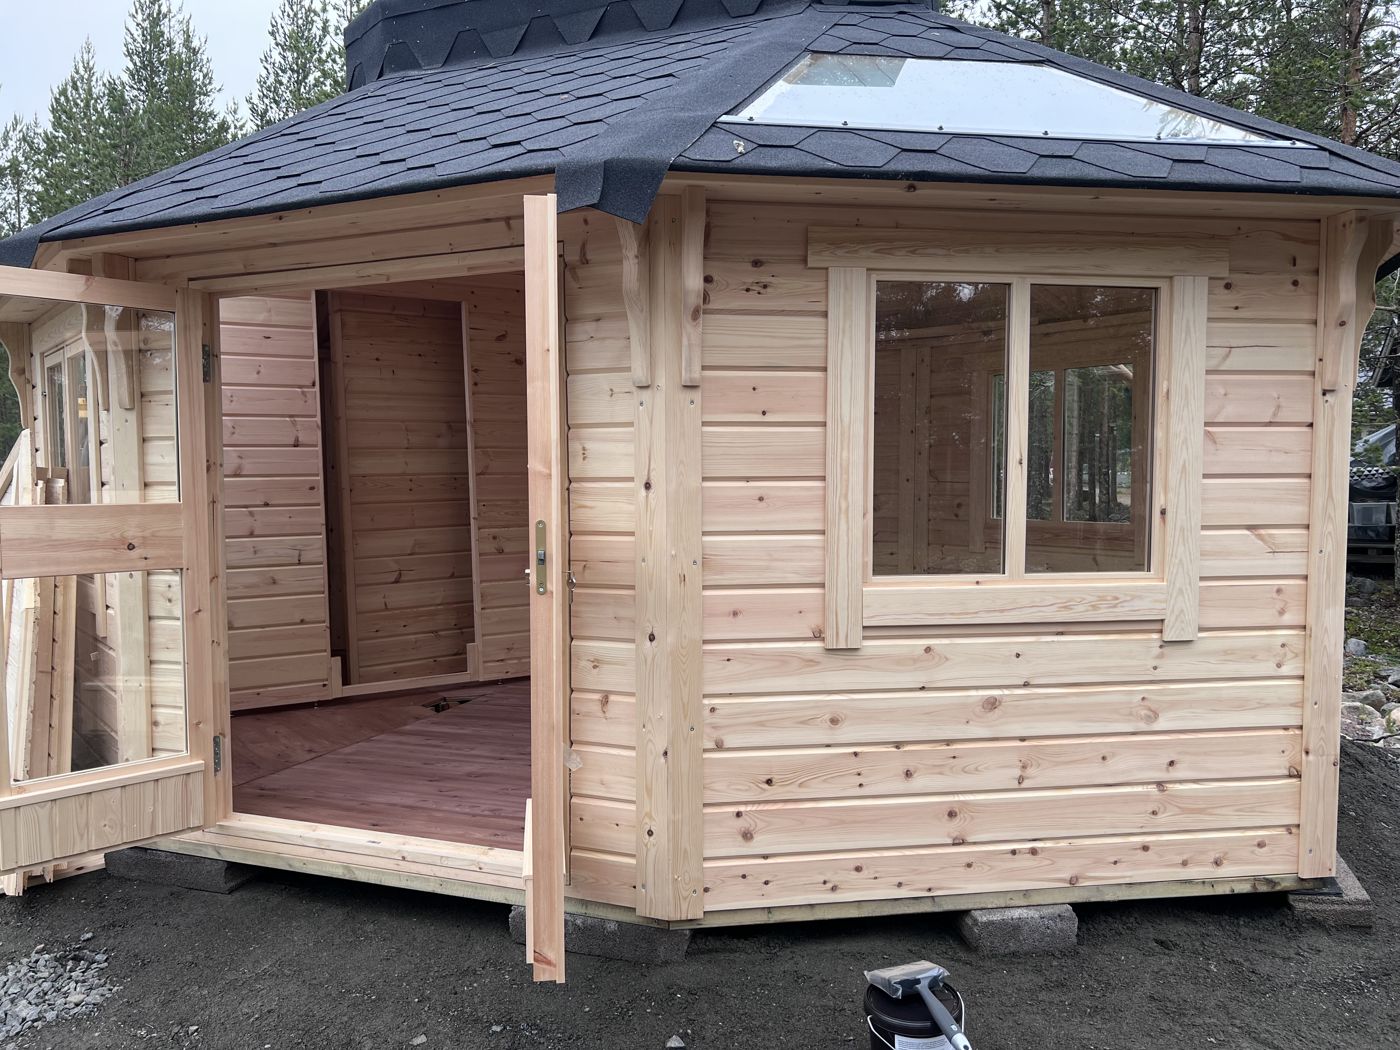
Doors, windows, and the shape starting to click
By the fifth day the window and door frames were trimmed out, and this is the point where the building actually started reading as a sauna cabin rather than just a framed structure.
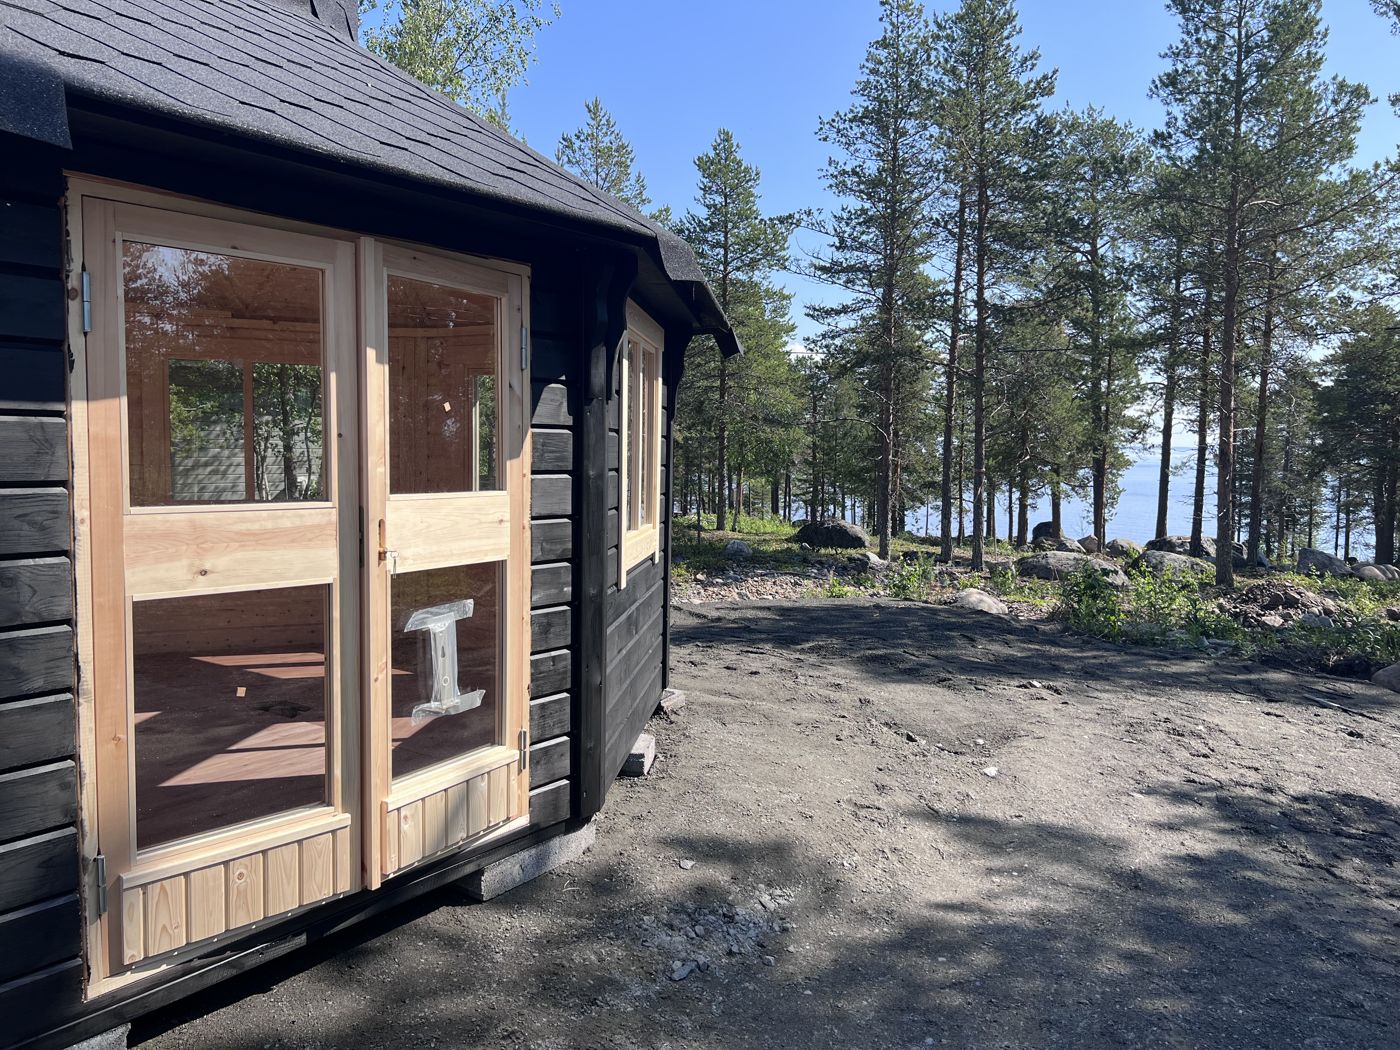
Walking down toward the water and looking back at it from the tree line, you get the full effect of the octagon shape against the pines — it’s a genuinely nice silhouette, low and rounded rather than boxy.
Interior paneling and benches
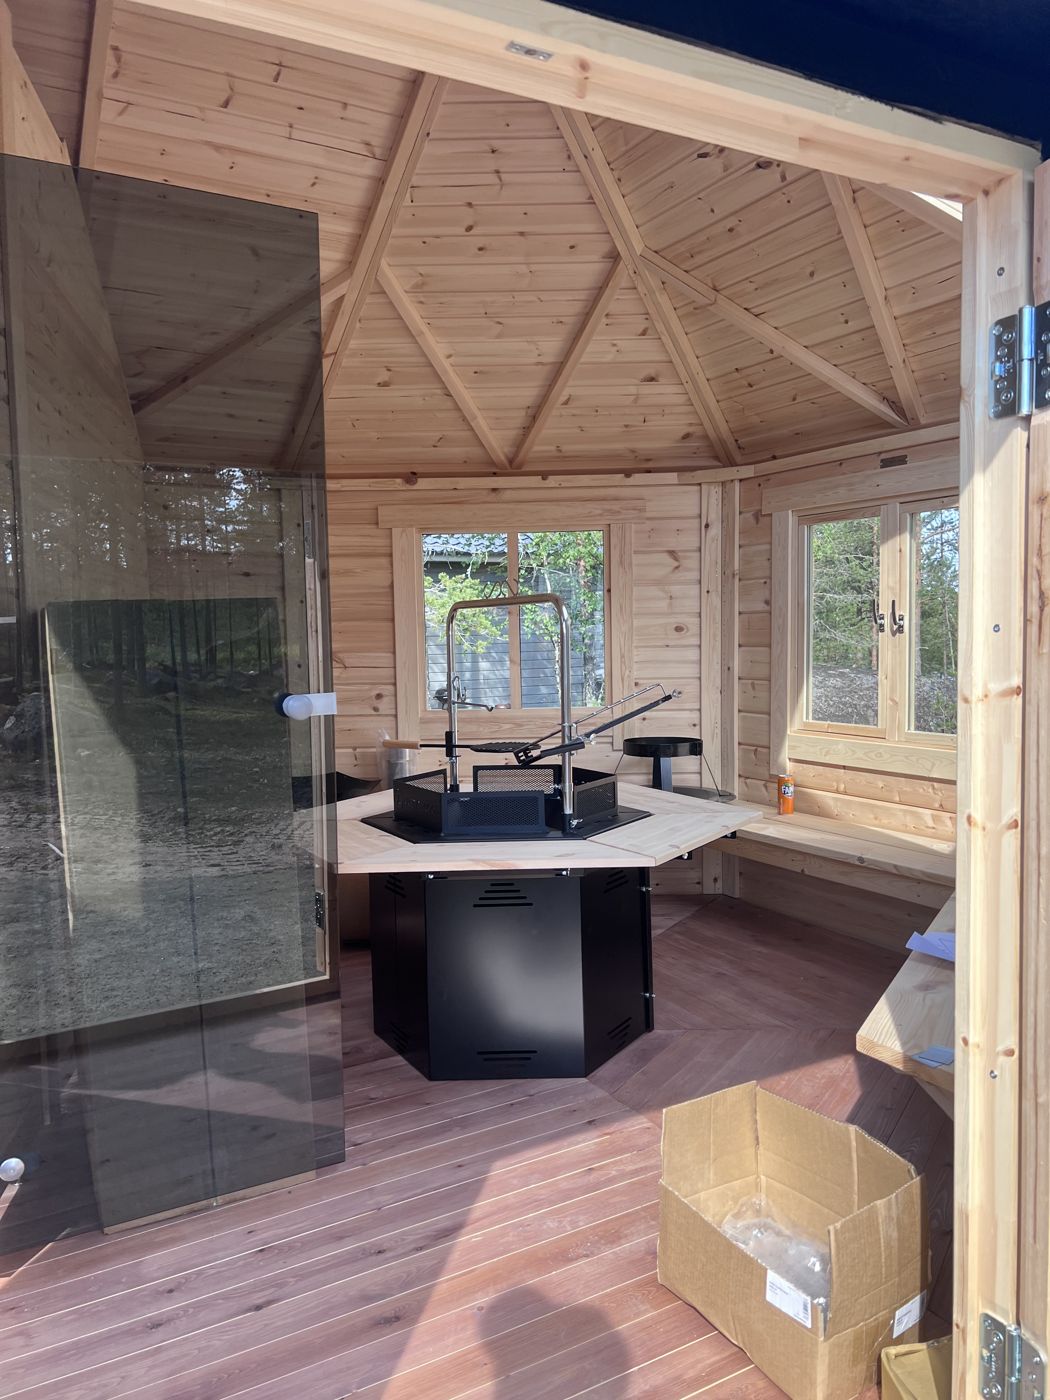
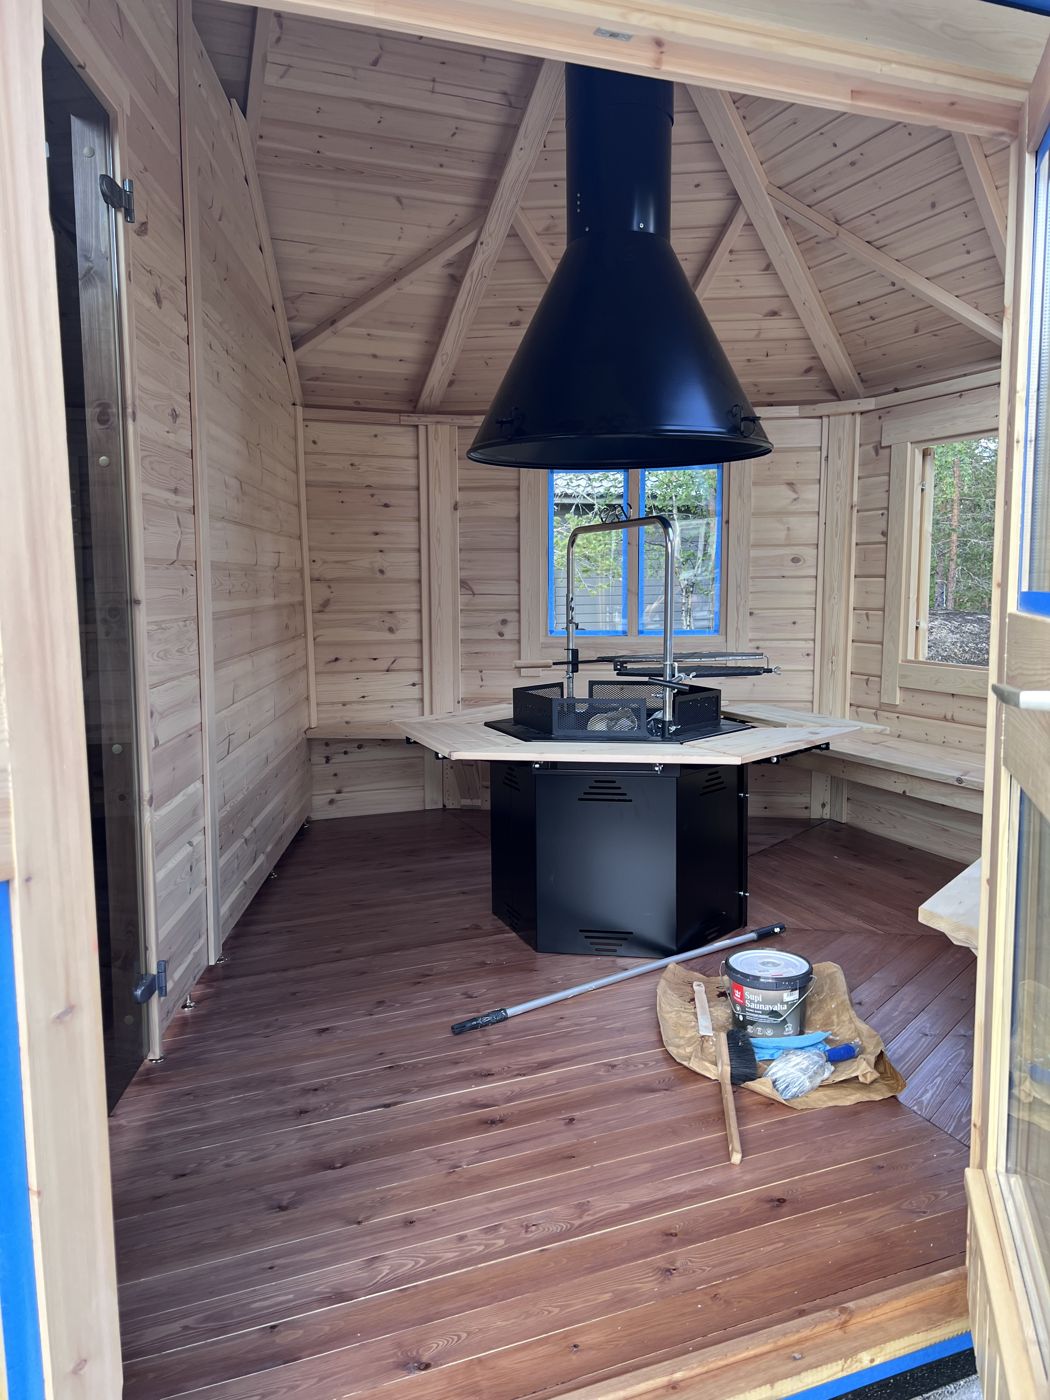
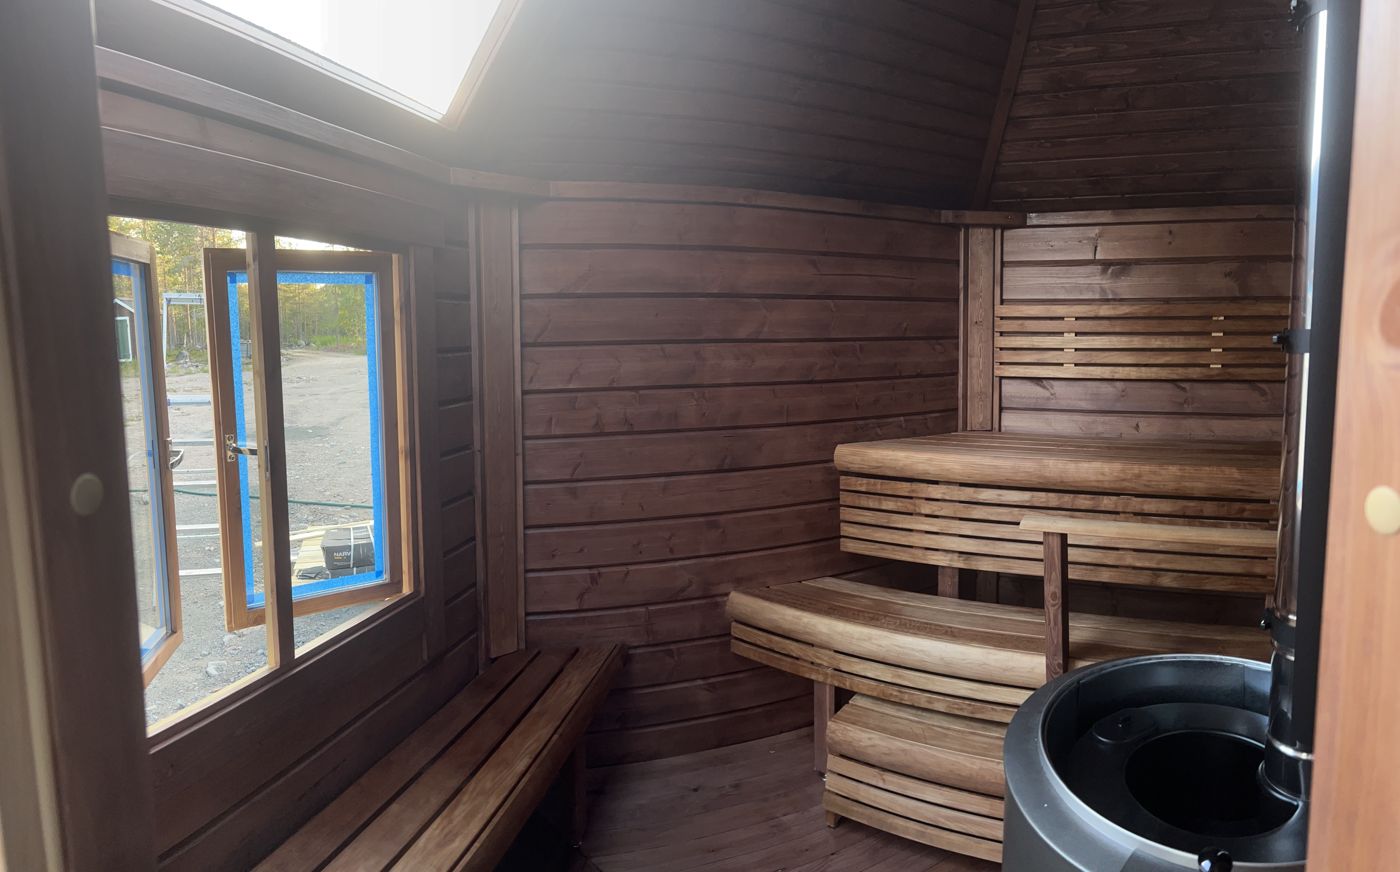
Inside is where the real character comes from. We chose a light, warm wood paneling for the walls and ceiling — a deliberate contrast to the black exterior — and it makes the whole interior feel bright even with only the skylights and the one big window for natural light.
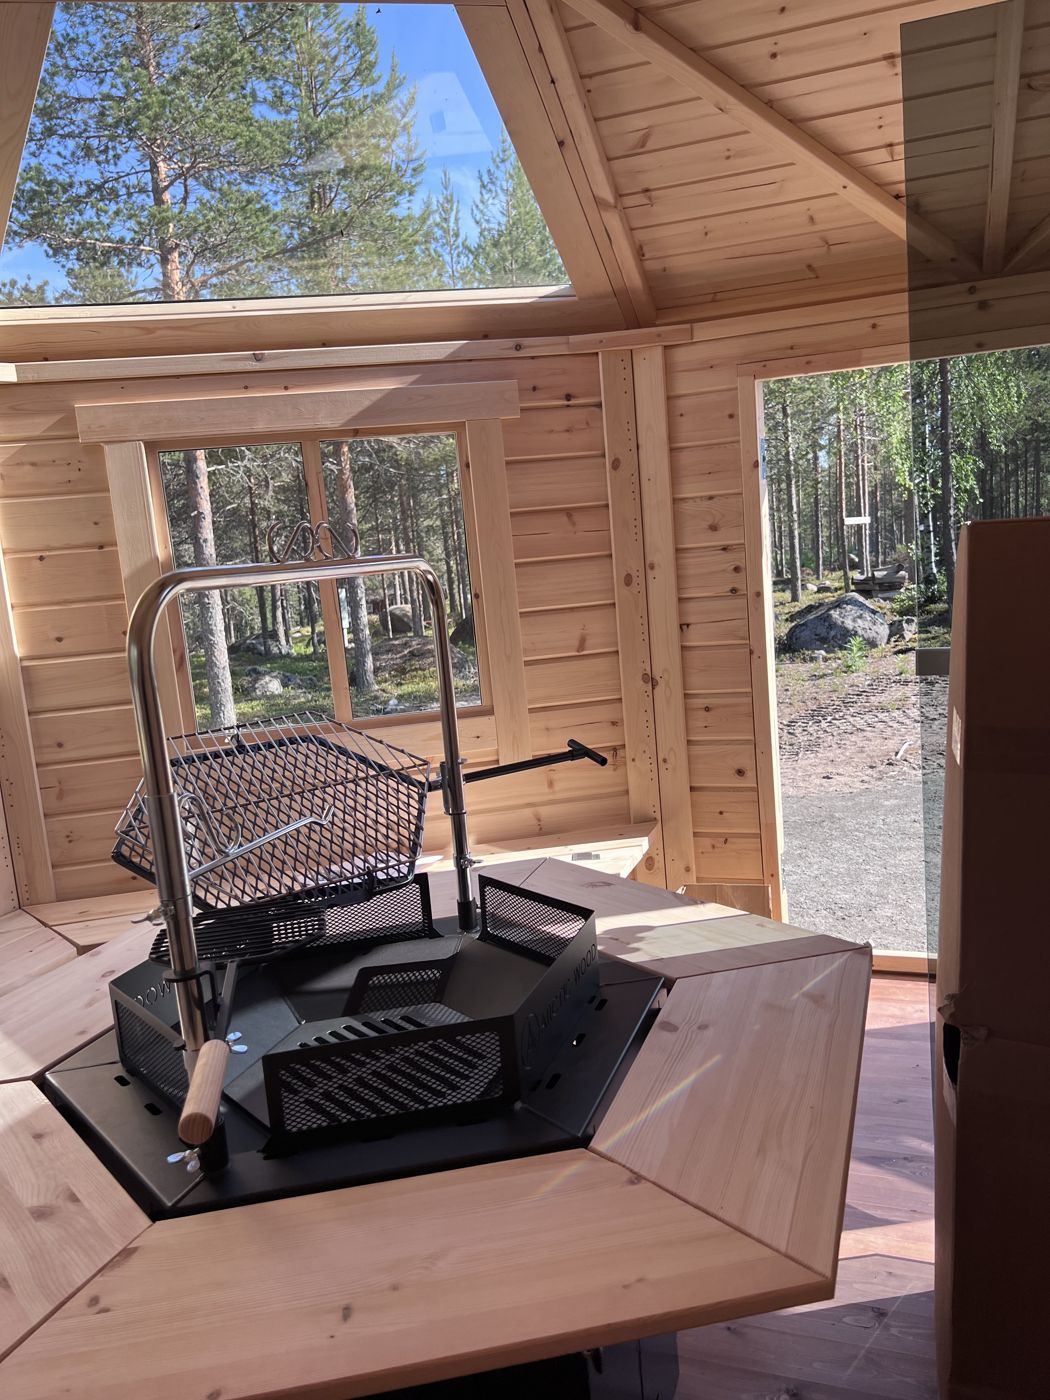
Looking straight up into the apex of the roof, you can see how all eight panels come together at the skylight — it was worth the extra complexity in the framing stage.
Then it was time to start test-fitting the stove — a wood-fired sauna stove, obviously, since burning anything else was never really on the table for us. Getting the clearances right between the stove and the wood paneling took some careful measuring before we committed to a final position.
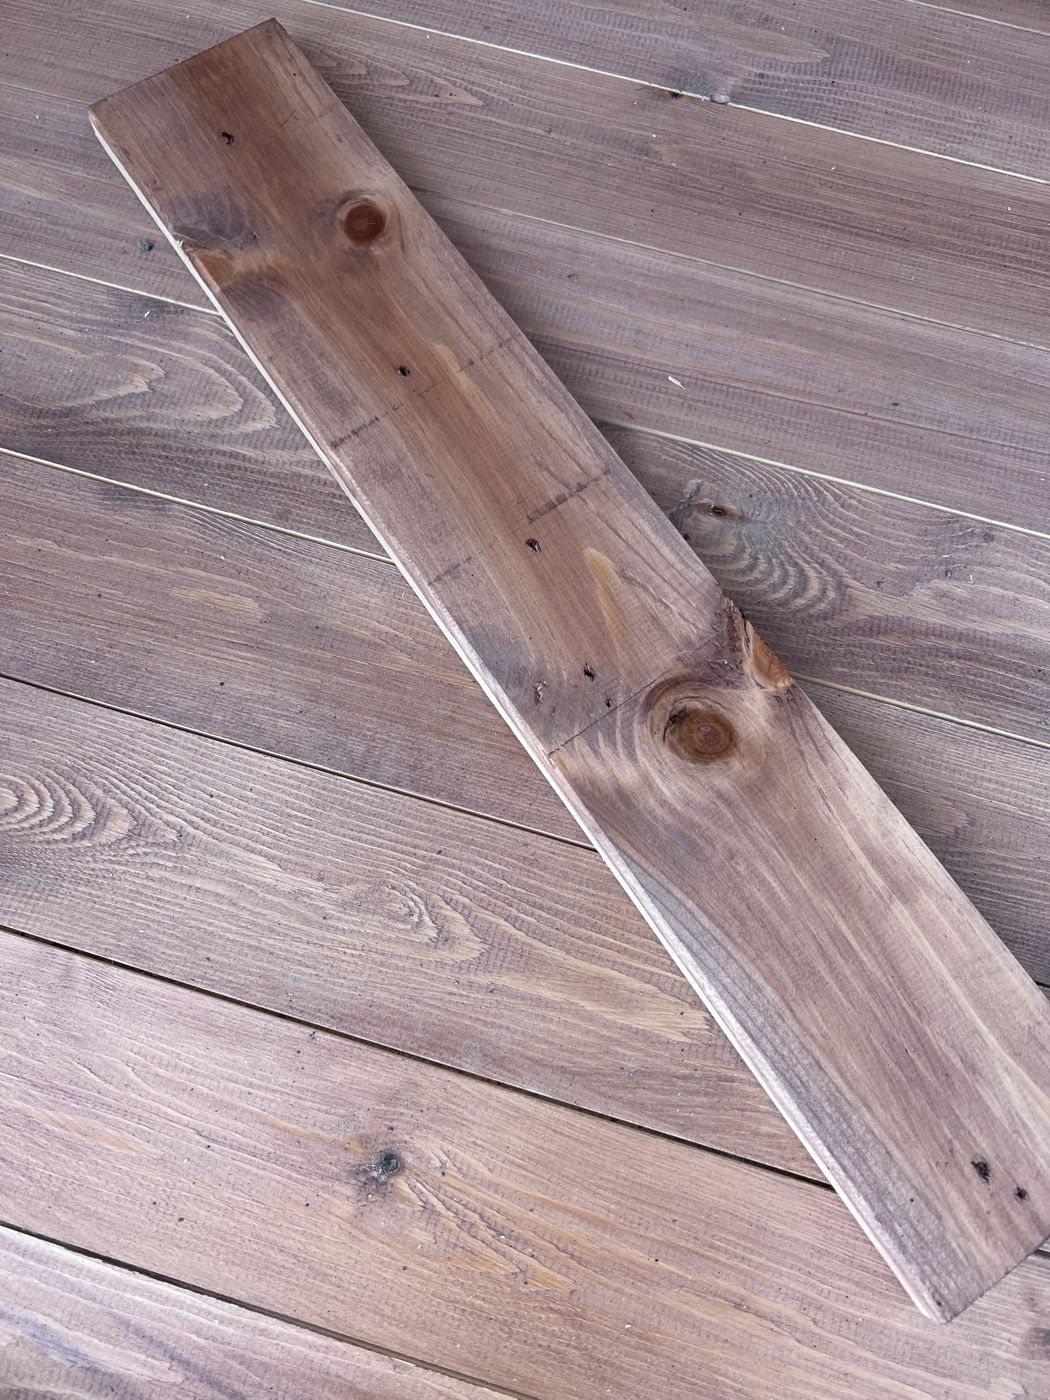
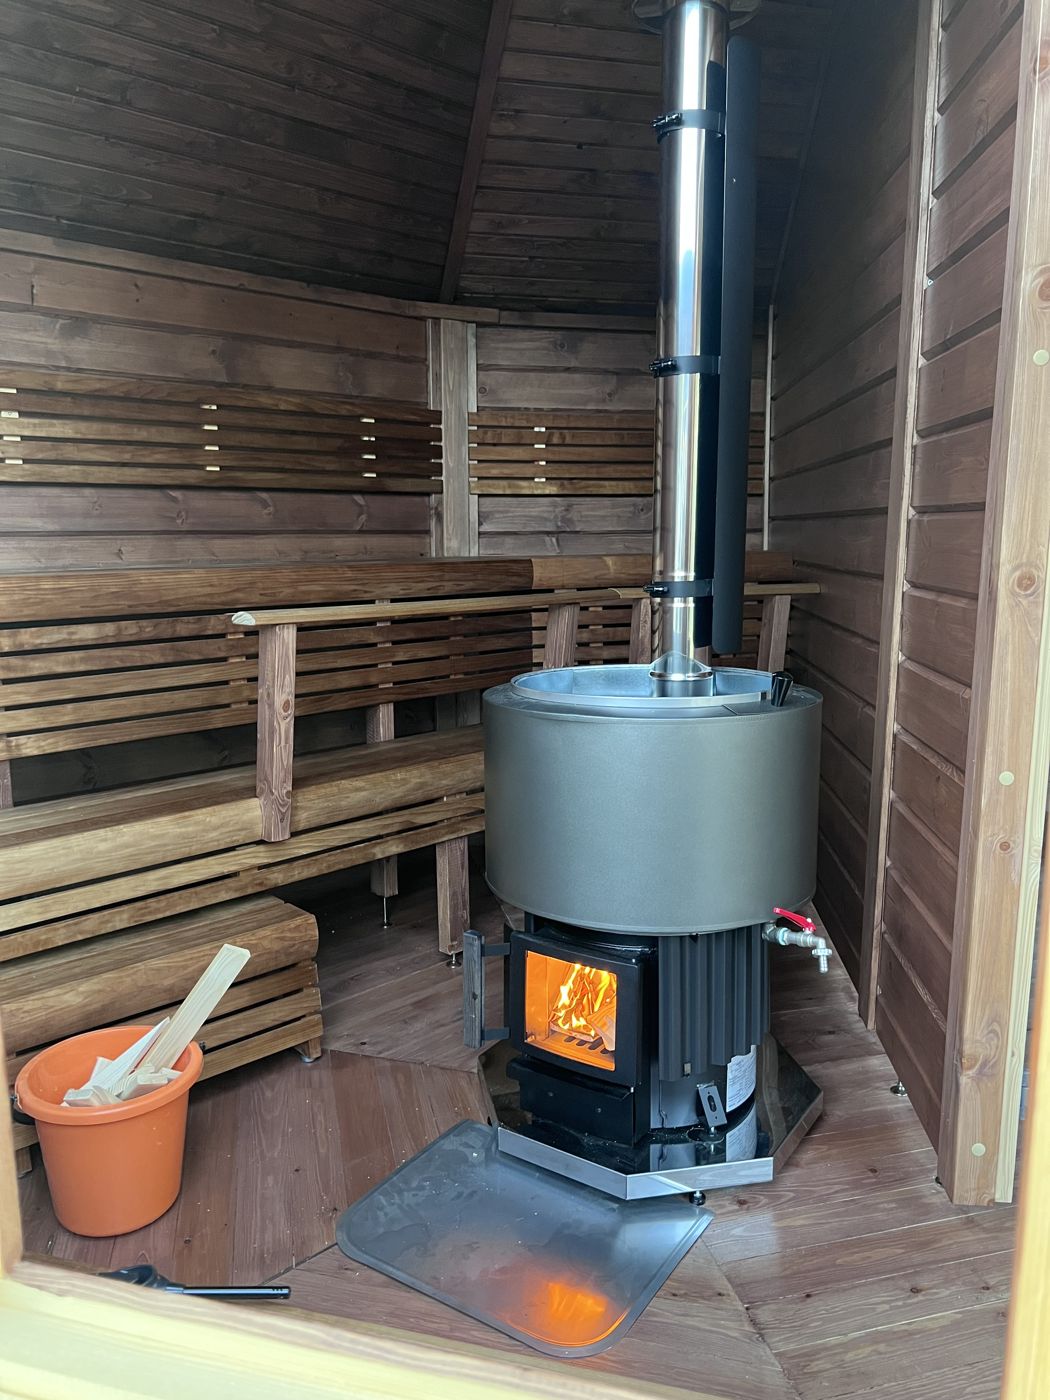
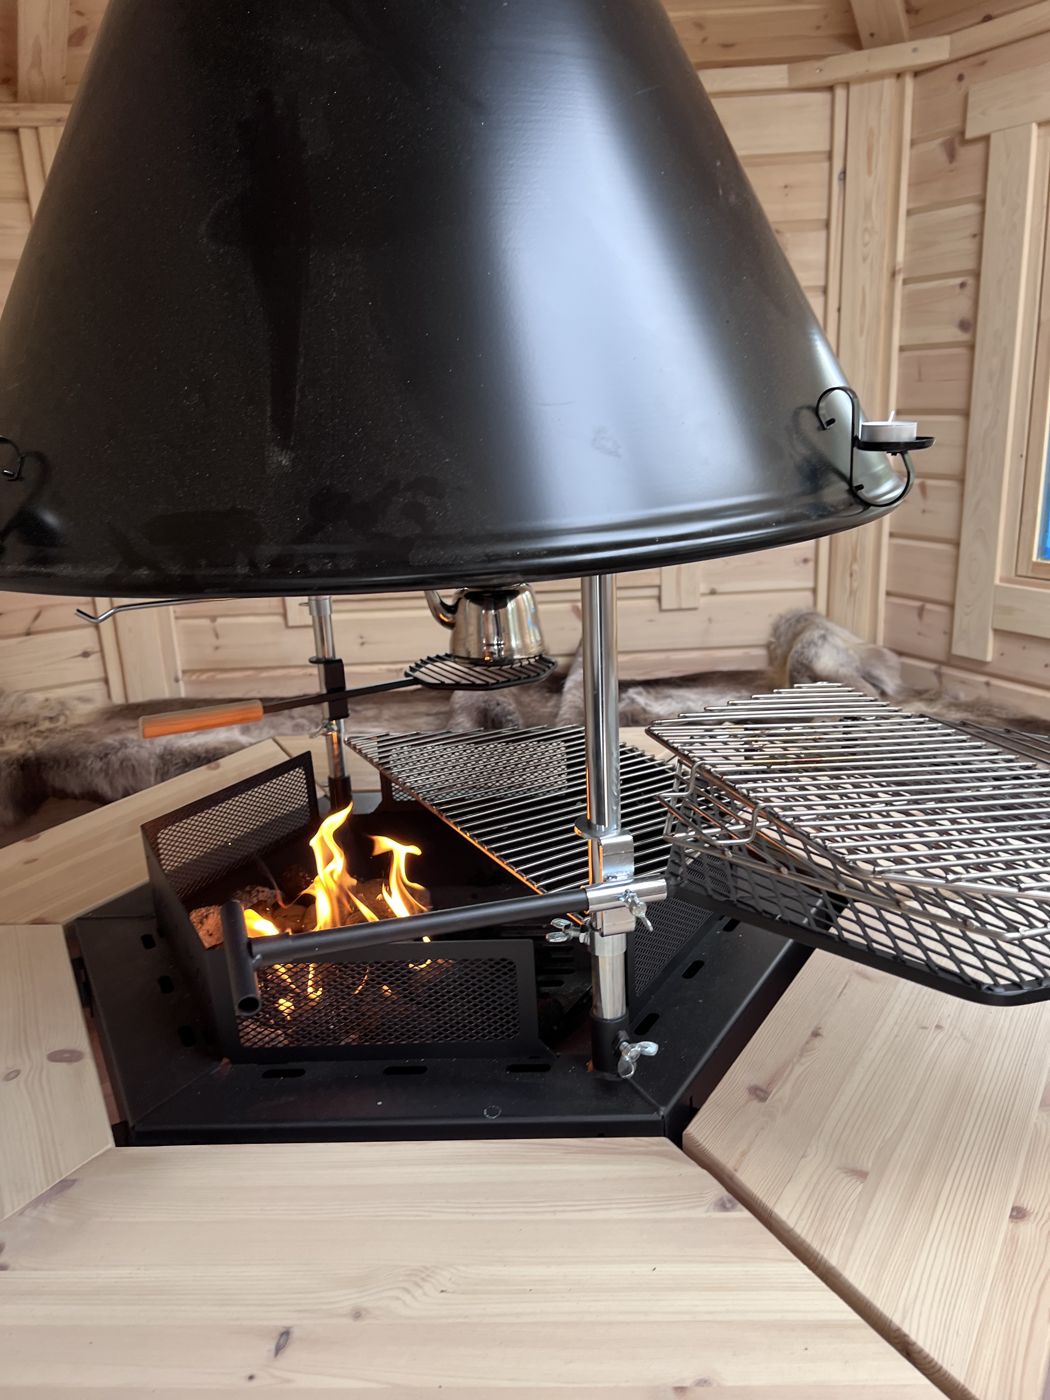
The stovepipe and the black conical hood above it went in next, one of those details that’s purely functional but ends up being one of the most striking things in the room.
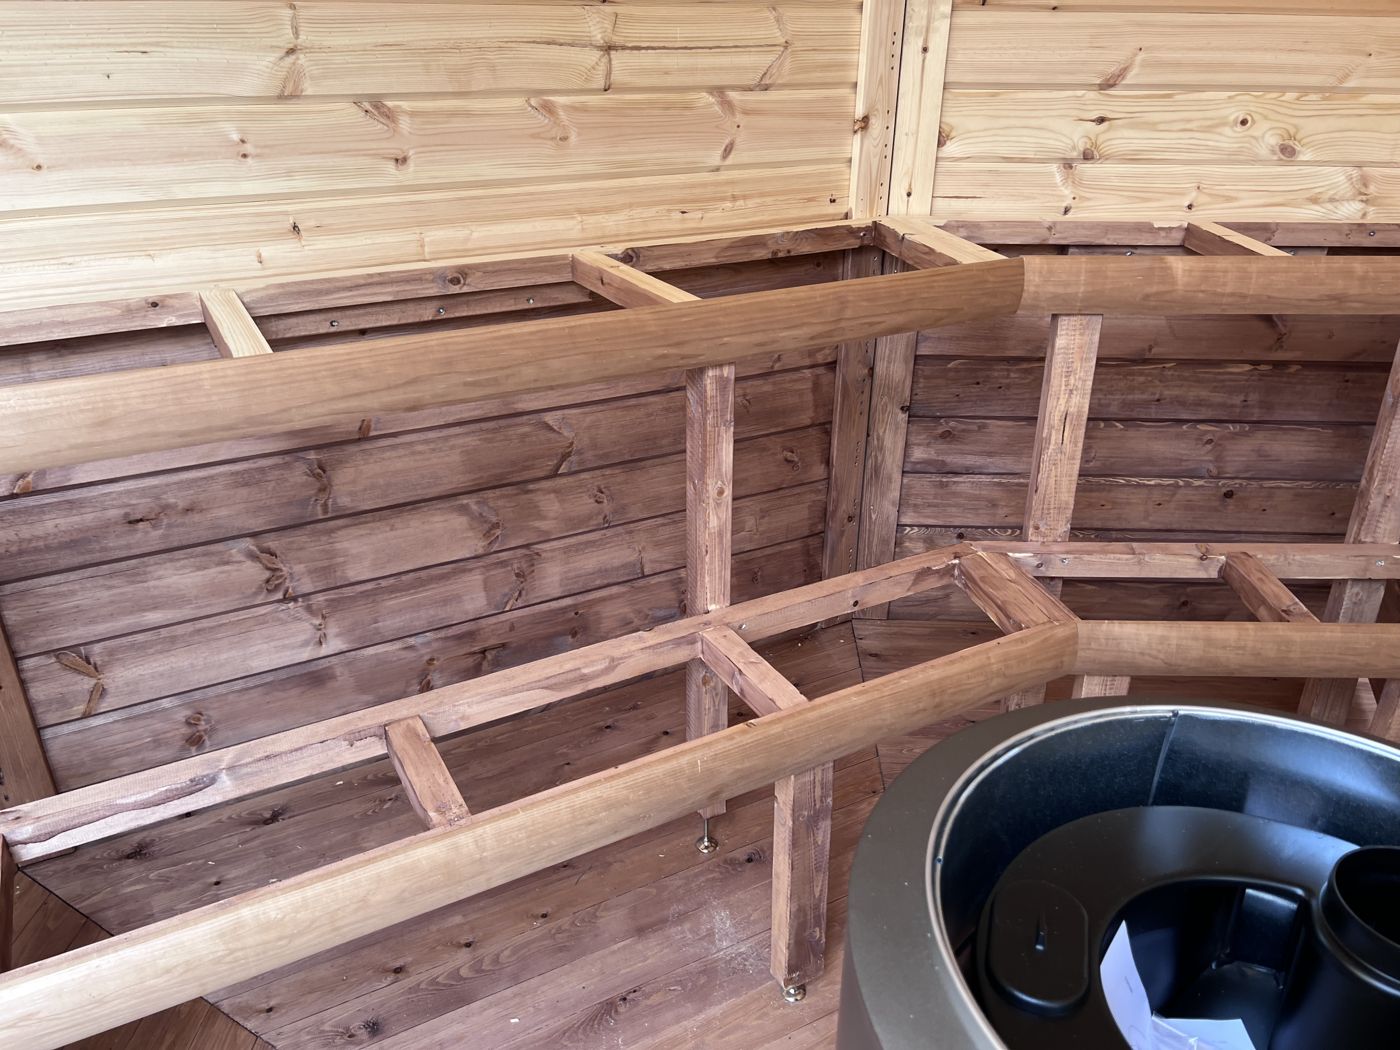
A close-up of the wall paneling itself — you can see the grain and knots in the wood, which we left natural rather than staining, so it’ll silver and darken slightly with age and heat over the years the way sauna wood always does.
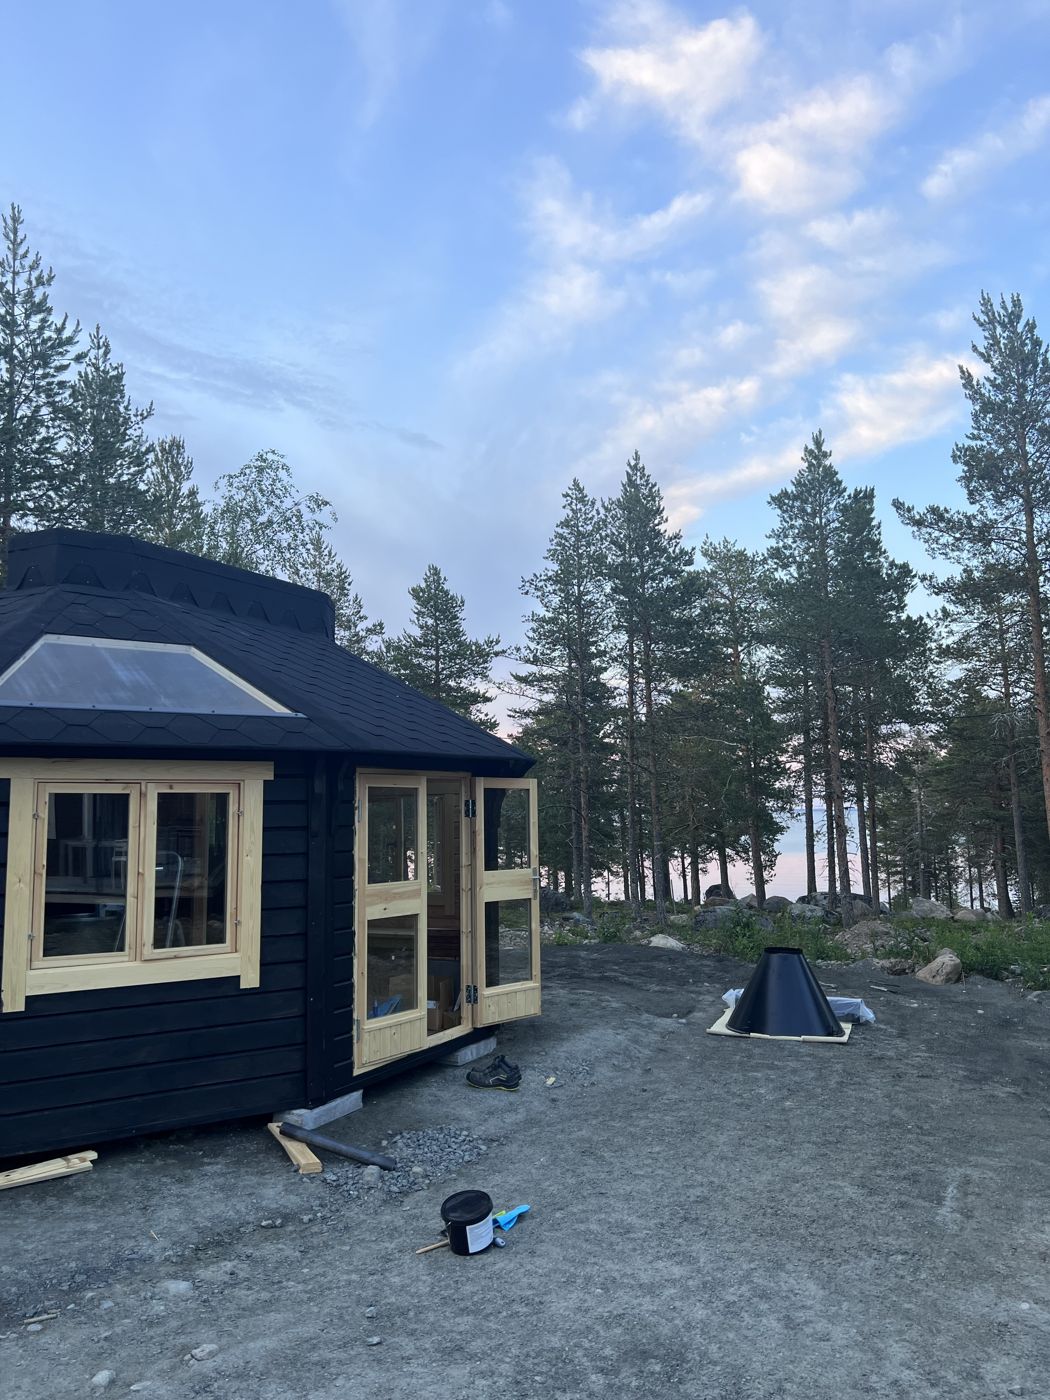
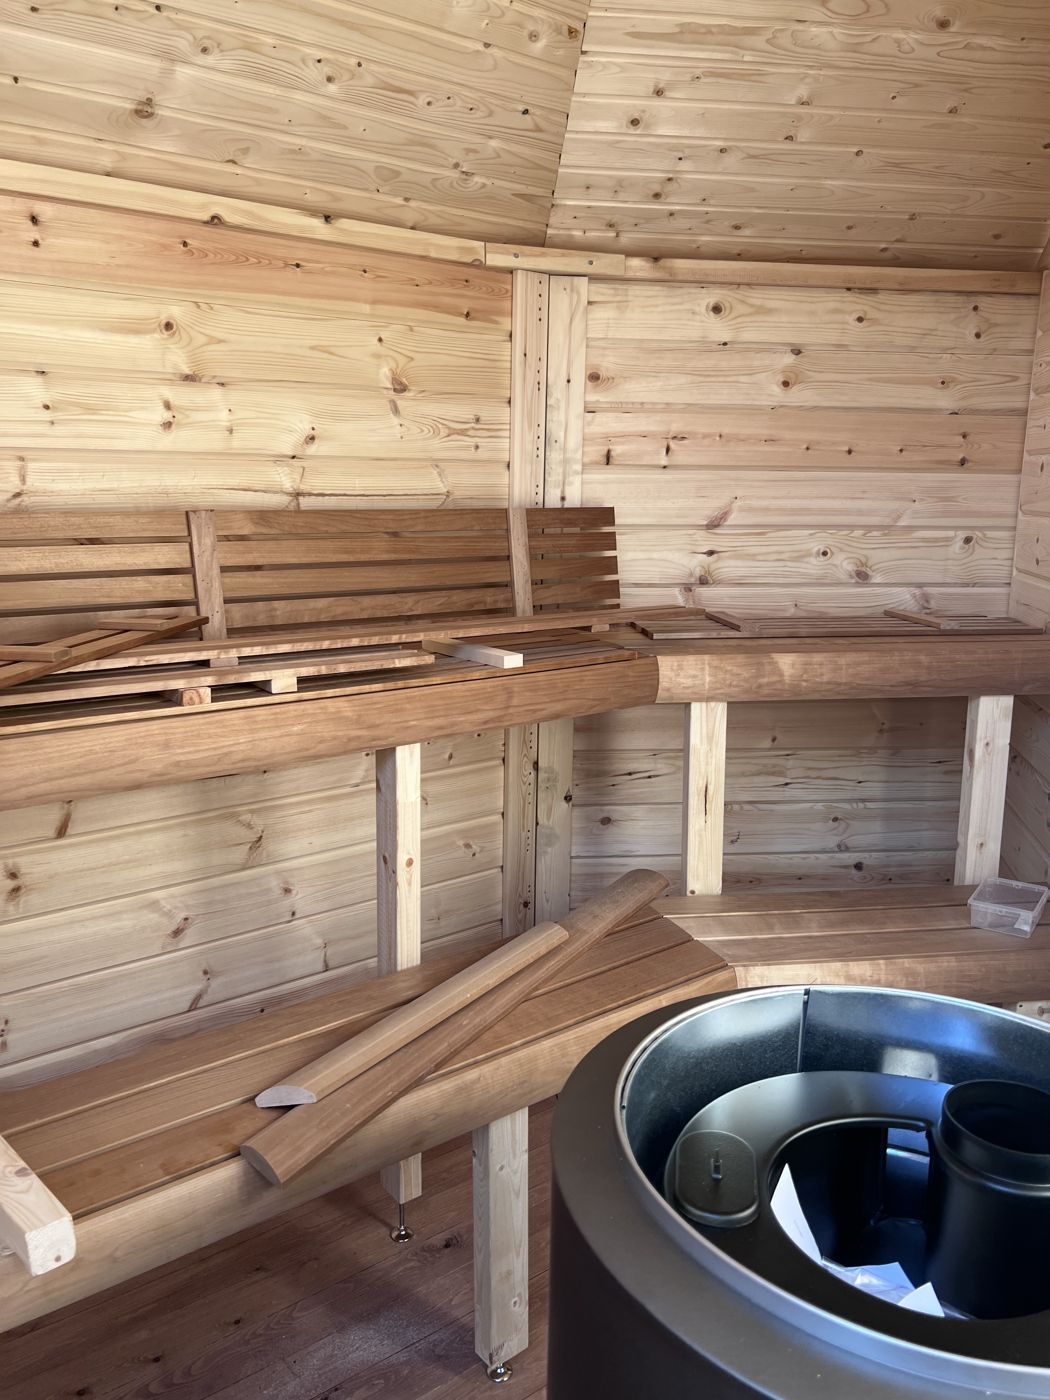
Benches came next, built in place rather than bought pre-made, so we could get the depth and height exactly right for actually lying down on the top bench, which is non-negotiable as far as I’m concerned.
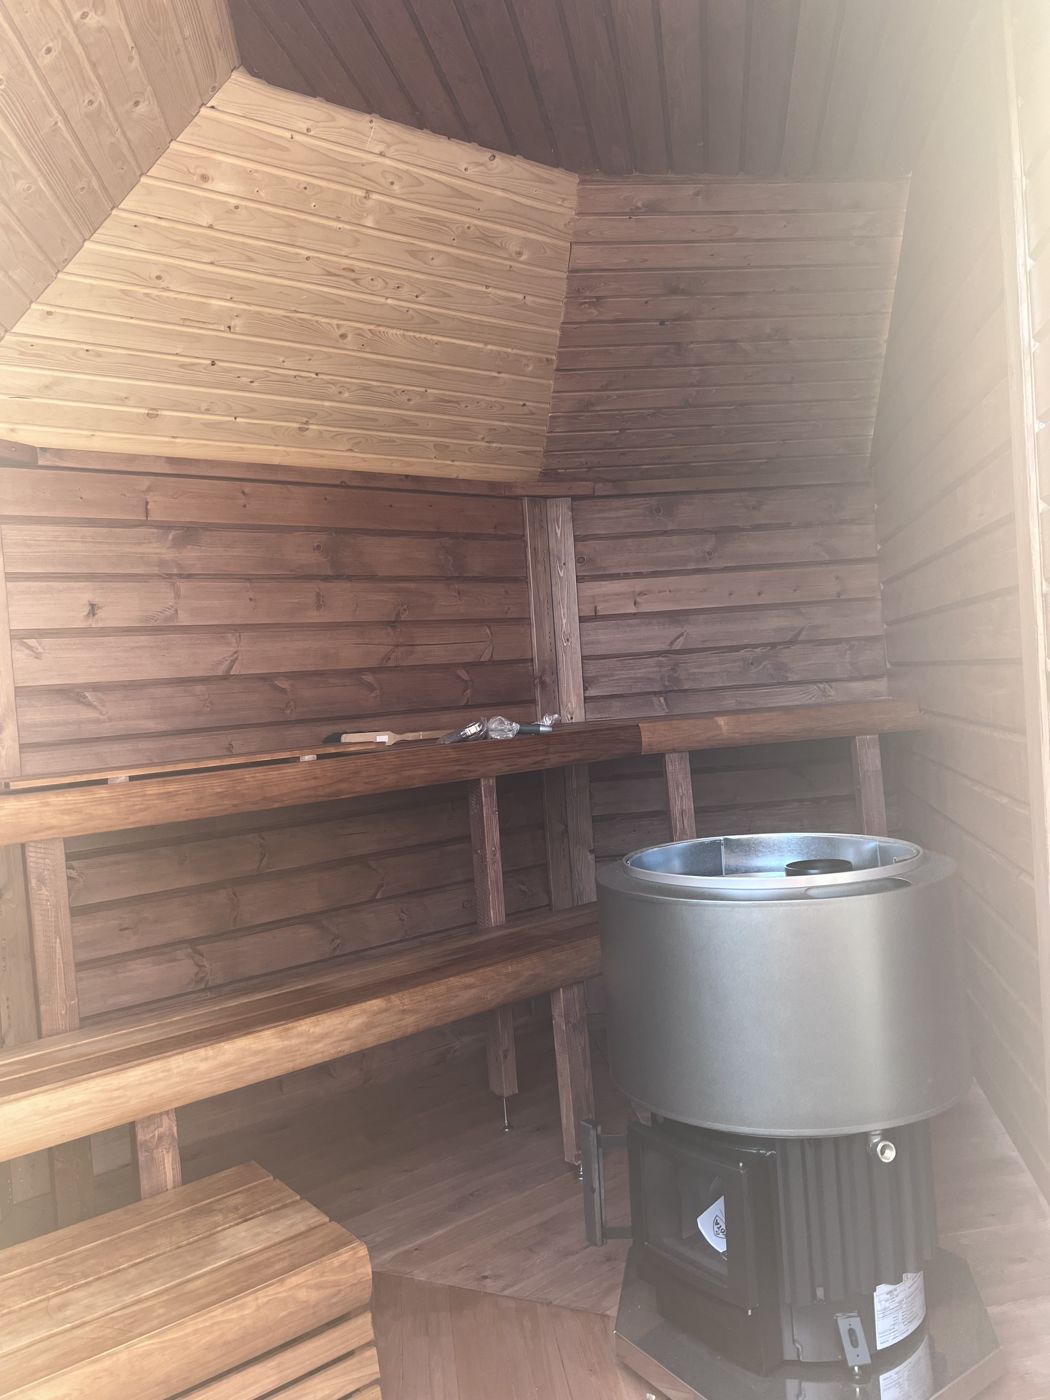
A week in, and the view from outside
By the end of June the exterior was essentially done, and it was strange — in a good way — to see it sitting there permanently among the pines, like it had always been there.
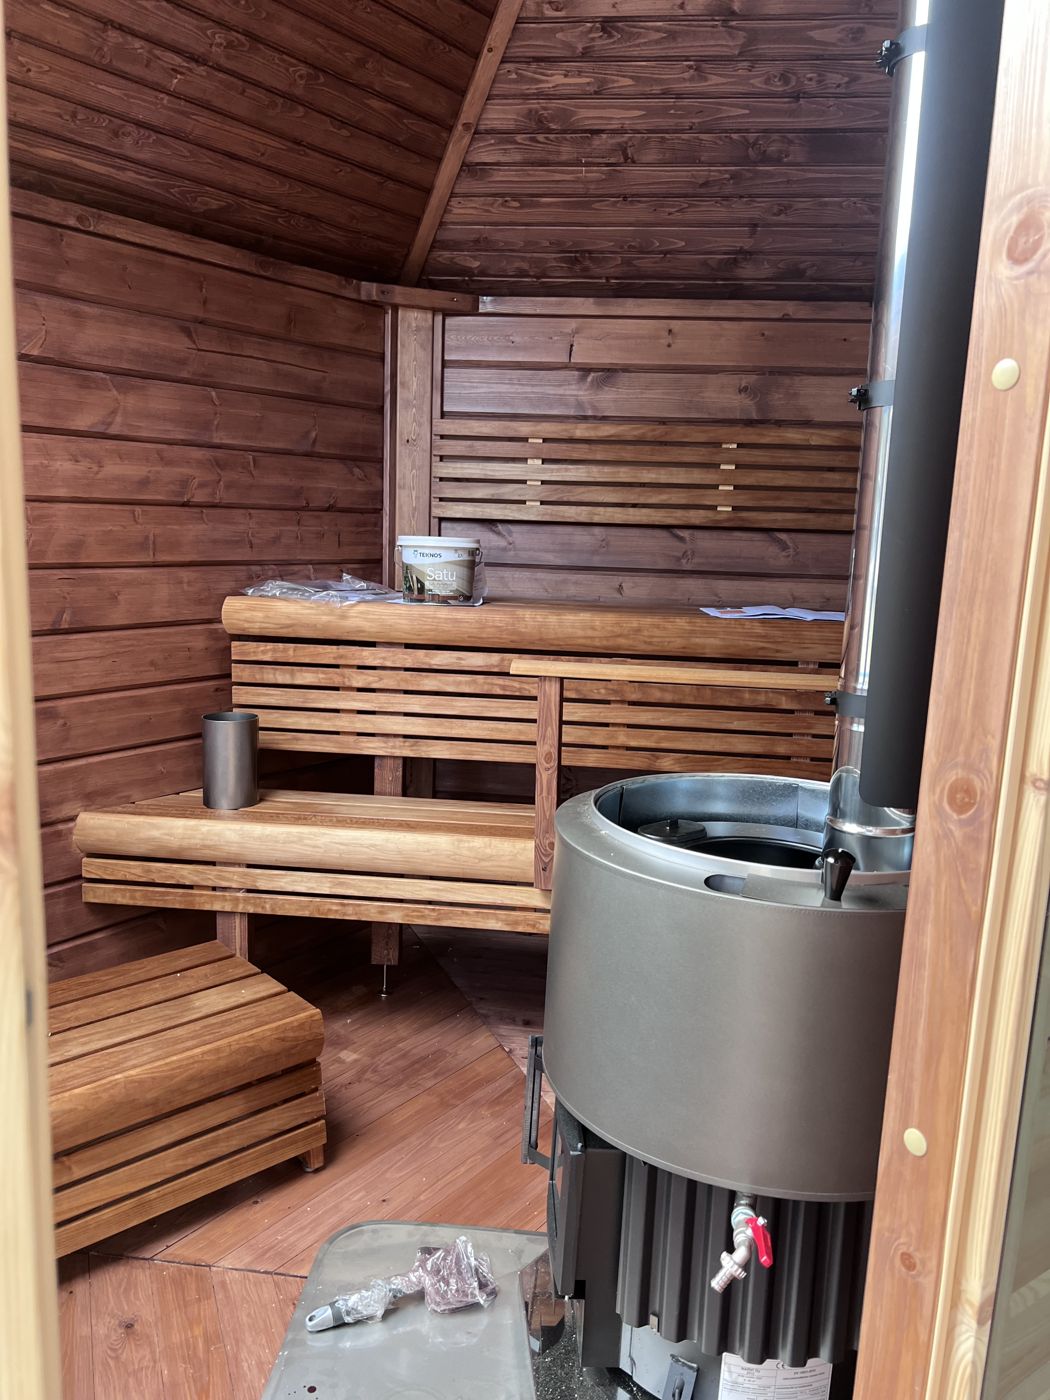
Inside, the benches were fully built out around the stove, with the wood catching the evening light through the skylights.
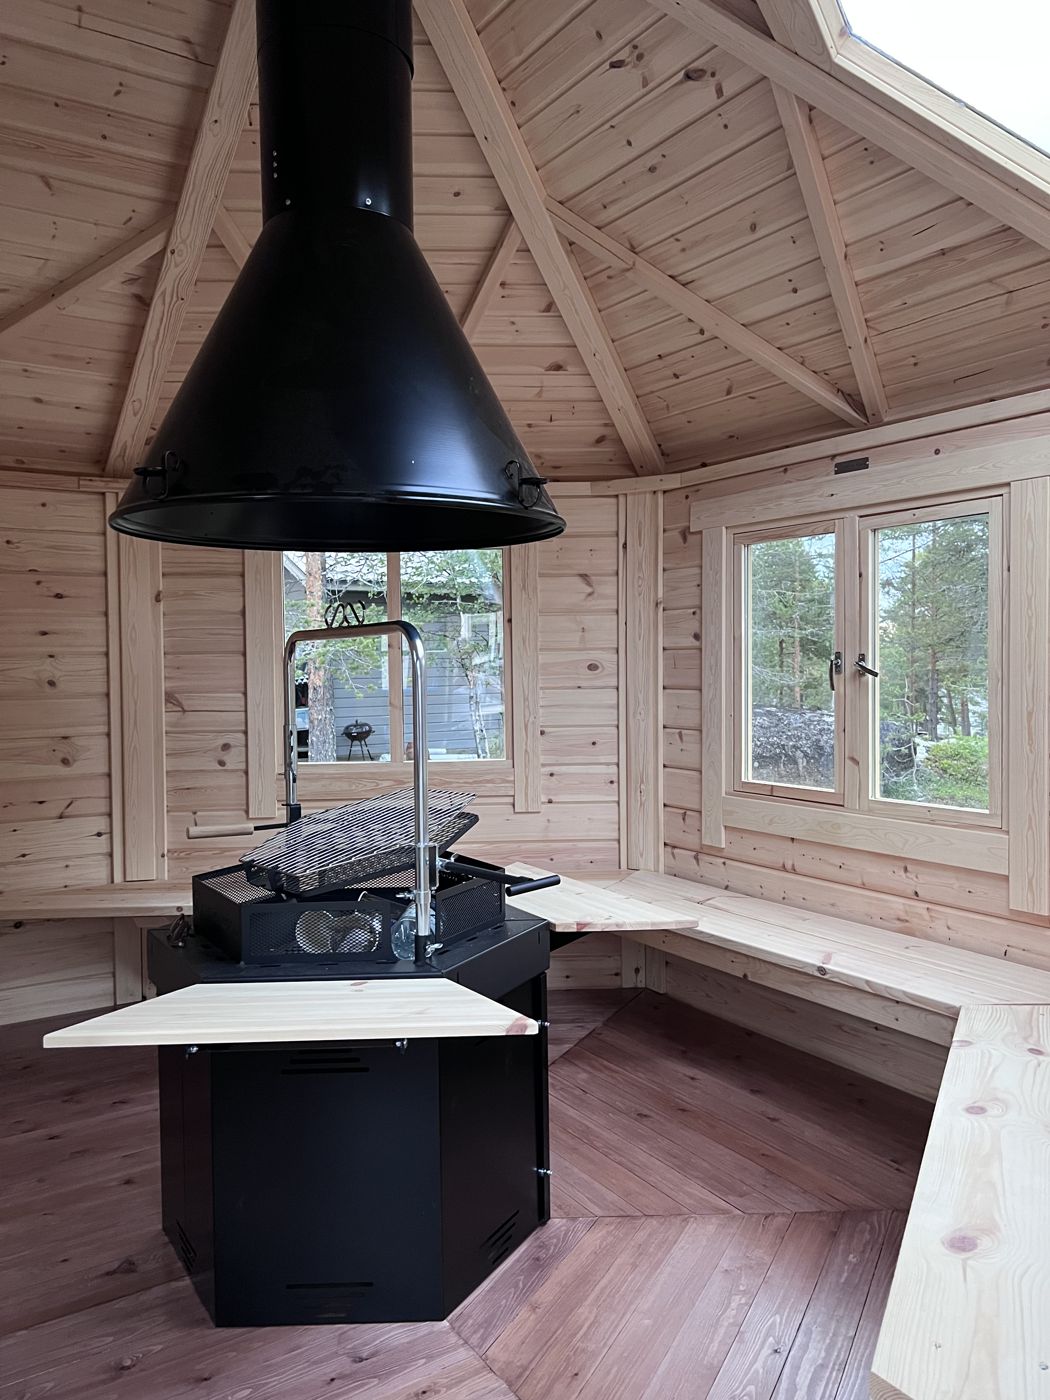
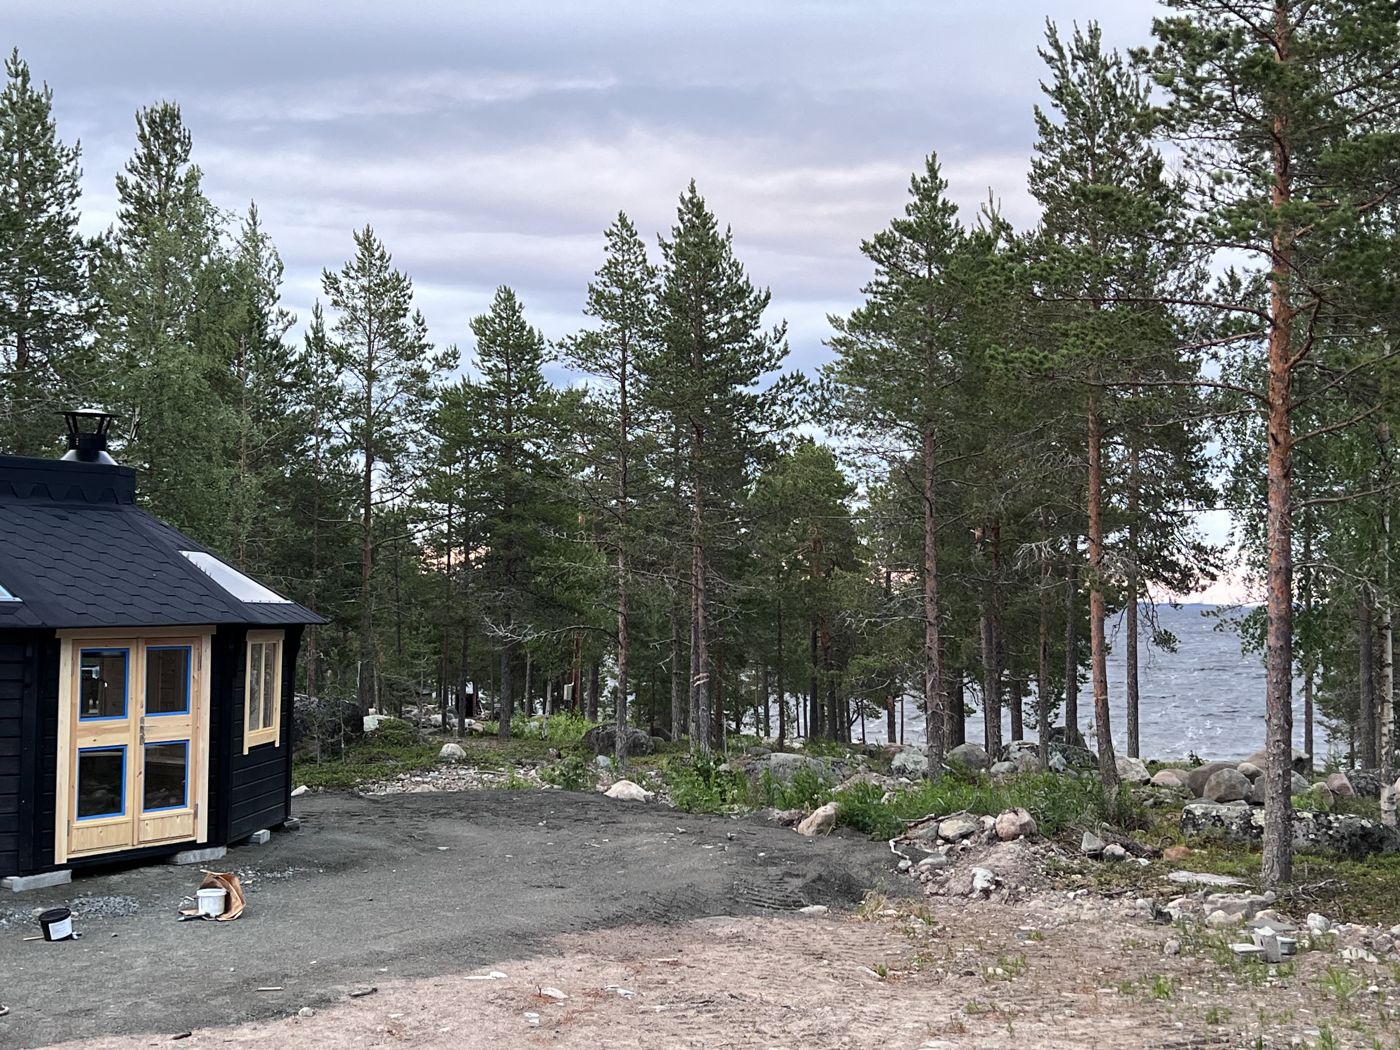
First fires
Nothing tells you whether a sauna actually works like lighting it for the first time. We test-fired the stove several times over these days, partly to check the draft and clearances, partly because — honestly — it’s hard to resist once there’s a stove sitting there ready to go.
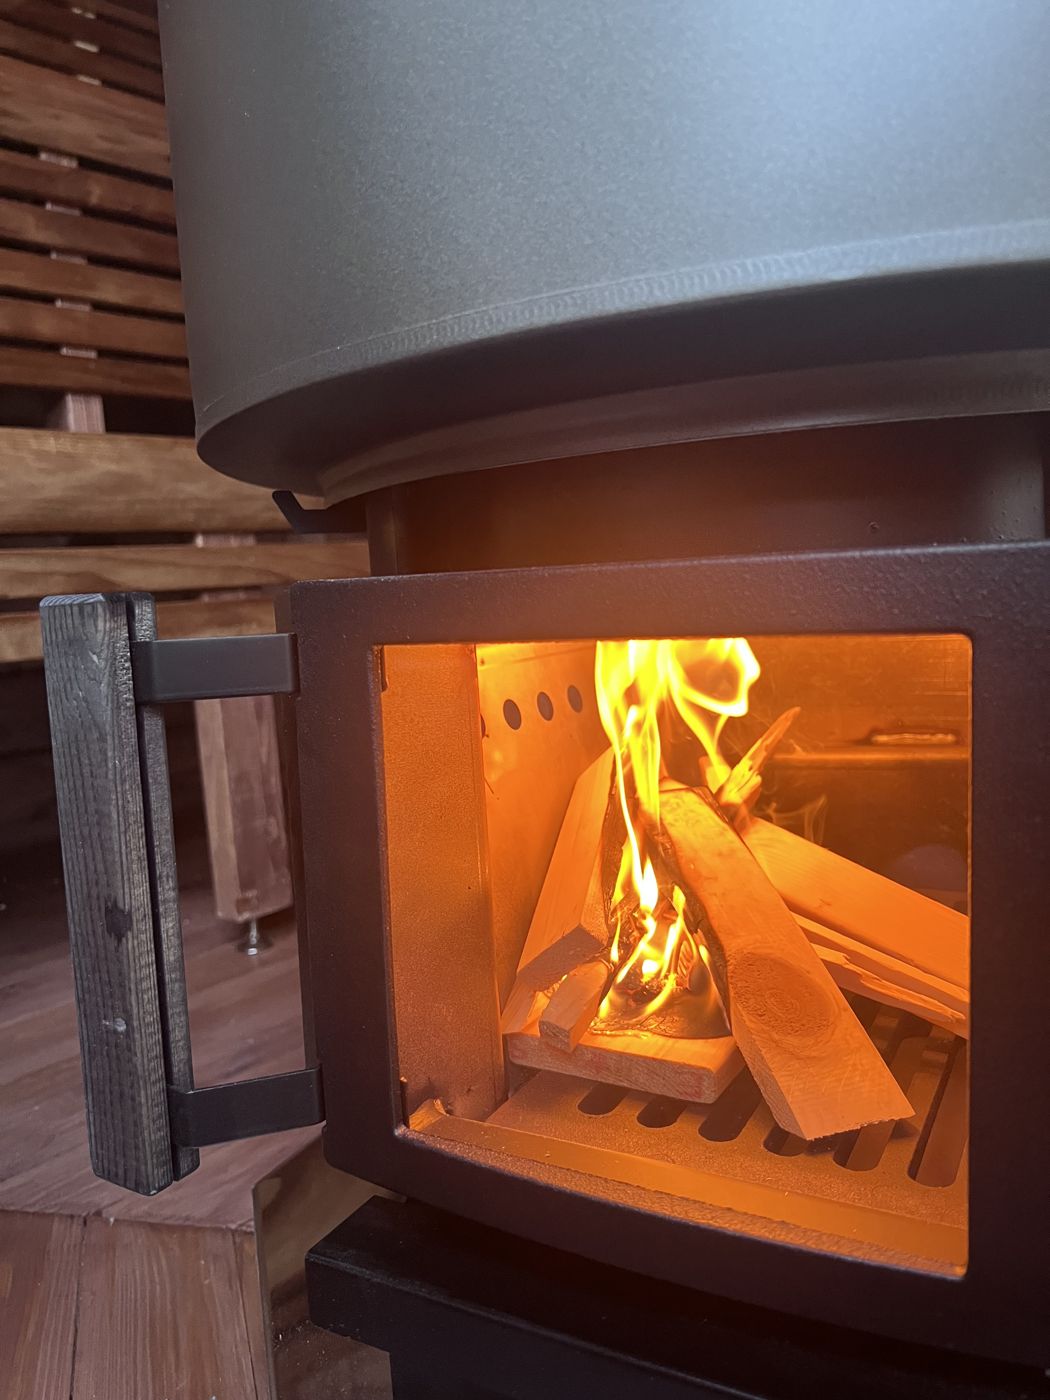
A close look at the stove itself mid-burn — you can see the water jacket housing around the firebox, which is the part that’ll later also give us hot water, more on that in a separate post about the interior fittings.
The fire properly going, doors open on the firebox to get a good look at it.
Two cabins now
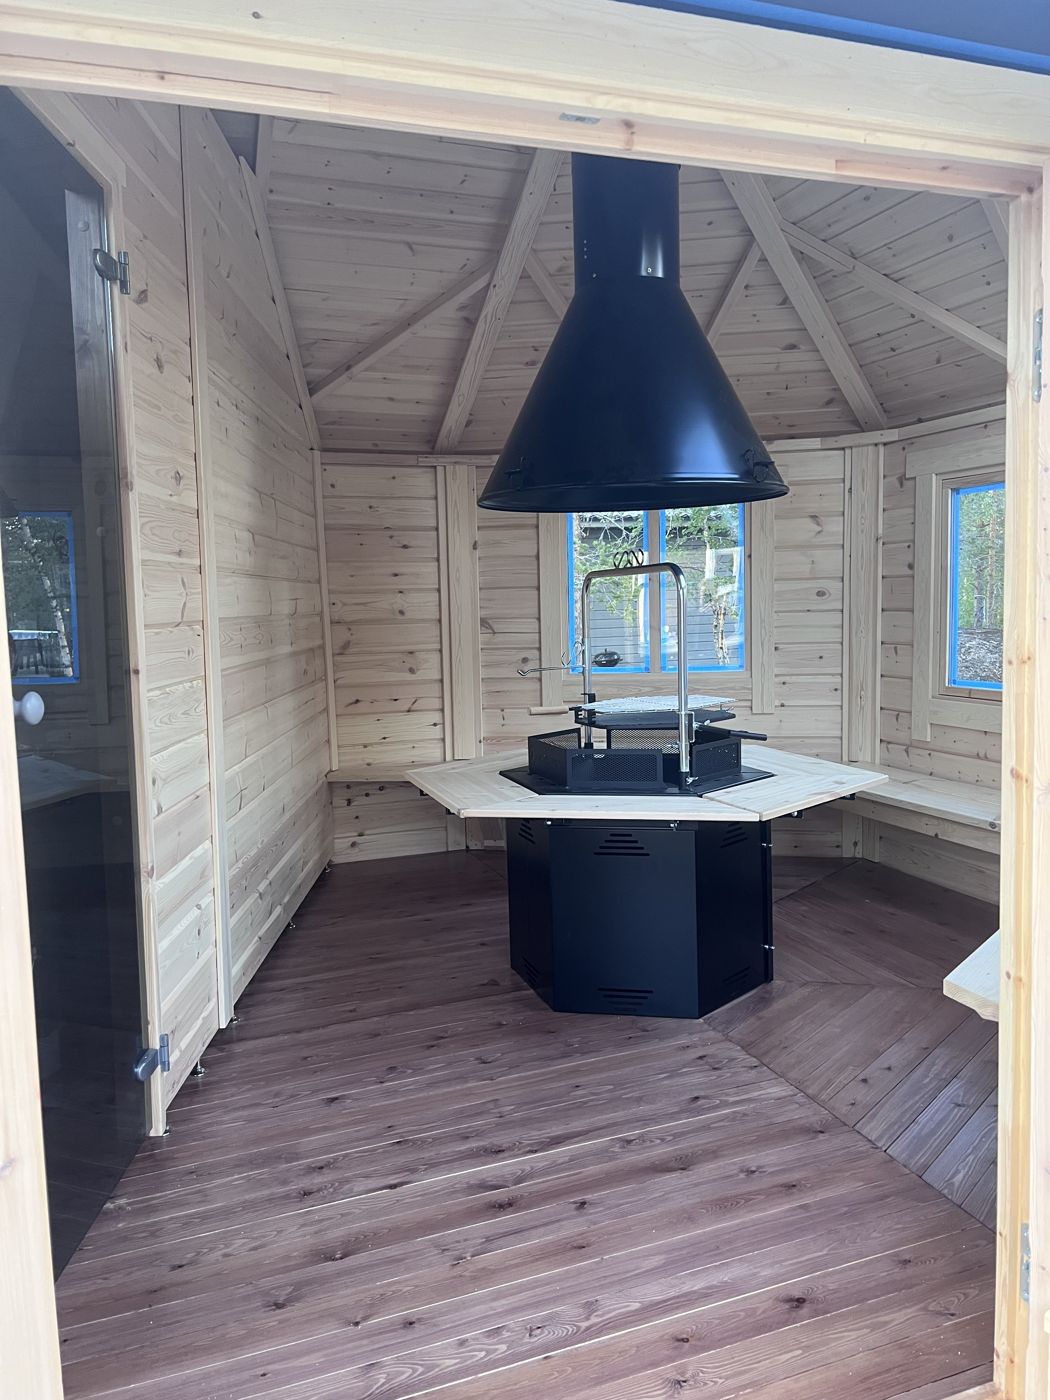
Around this point the second cabin — the one with the grill area for the relax section — started going up alongside the sauna. Seeing the two of them together, matching black cladding but with different window trim colors, is when the whole relax area finally started to feel like a coherent little compound rather than one isolated building.
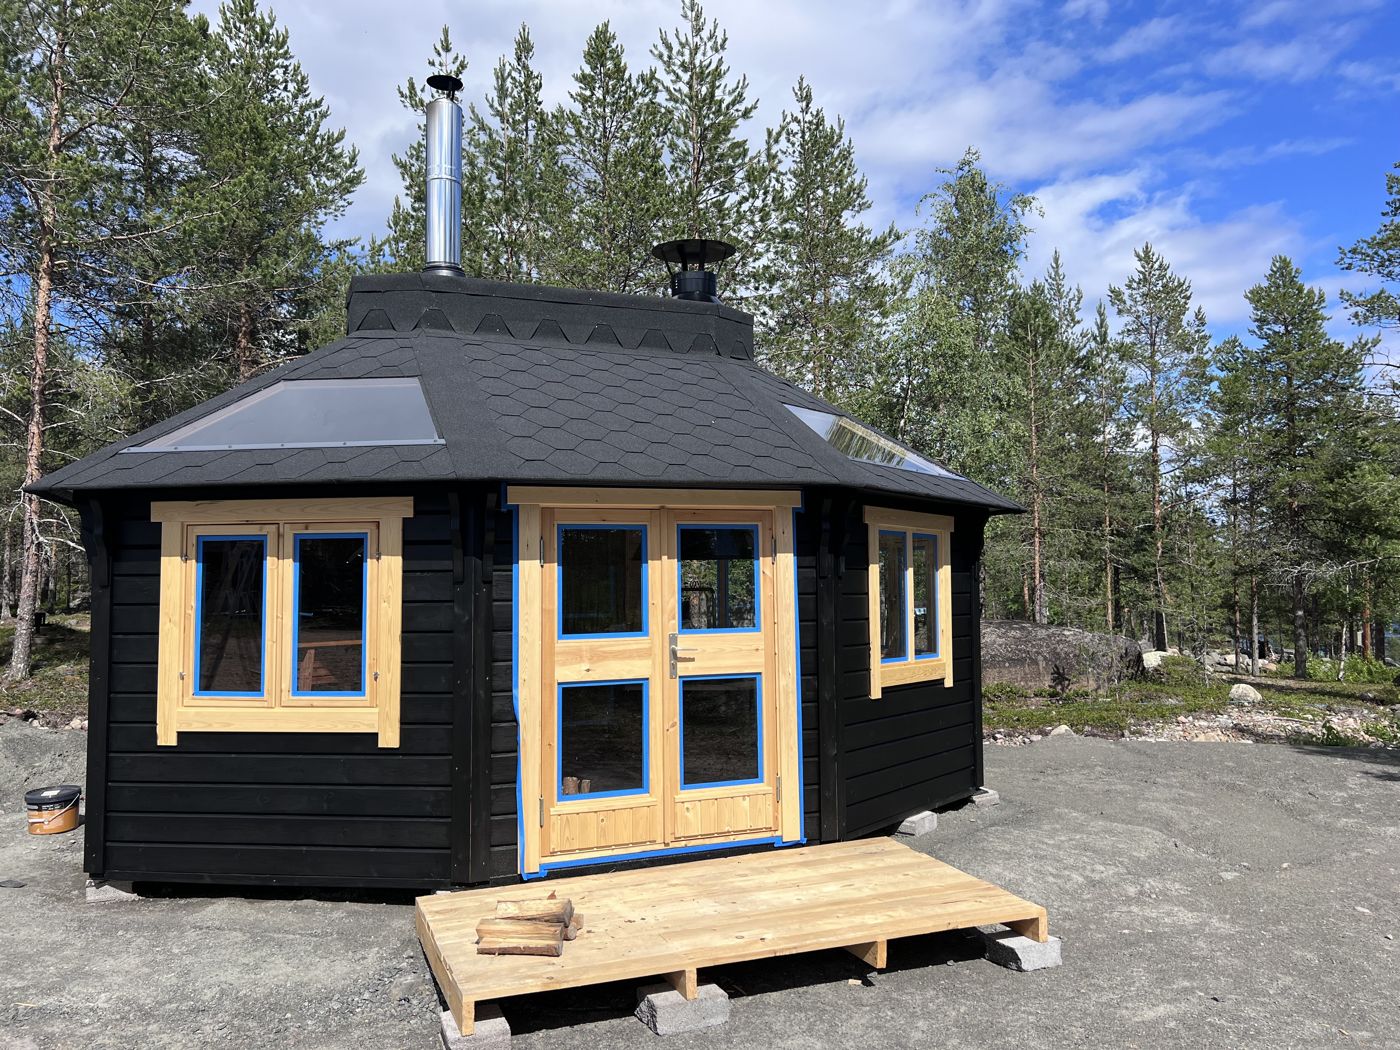
Another evening, another test fire — by this point it had become a genuinely nice ritual to end the day with.
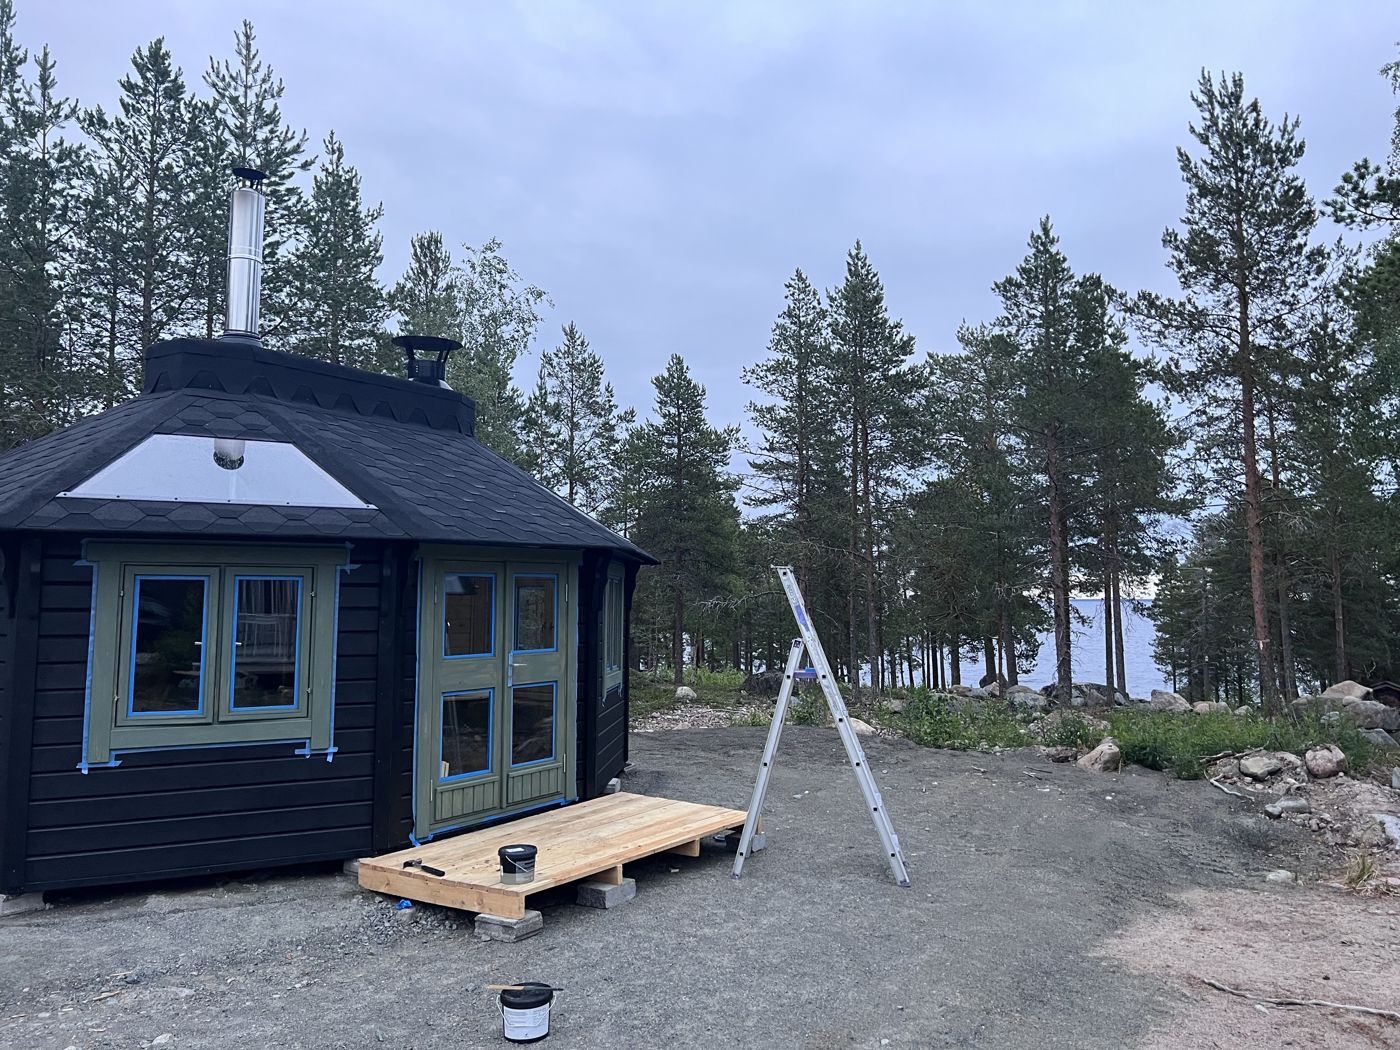
The cabin at dusk, tucked into the pines.
Nearly there
And this is more or less where the build stood as July got underway — exterior essentially complete, trim painted, the last bits of hardware and finishing details still to come. There’s a full post coming on how it actually turned out once we called it finished, but this is the version of the story that shows all the work that got it there.